- Audio video settings
- Microphone
- Background settings
- Language settings
- Convert to public and private room
- Mute room
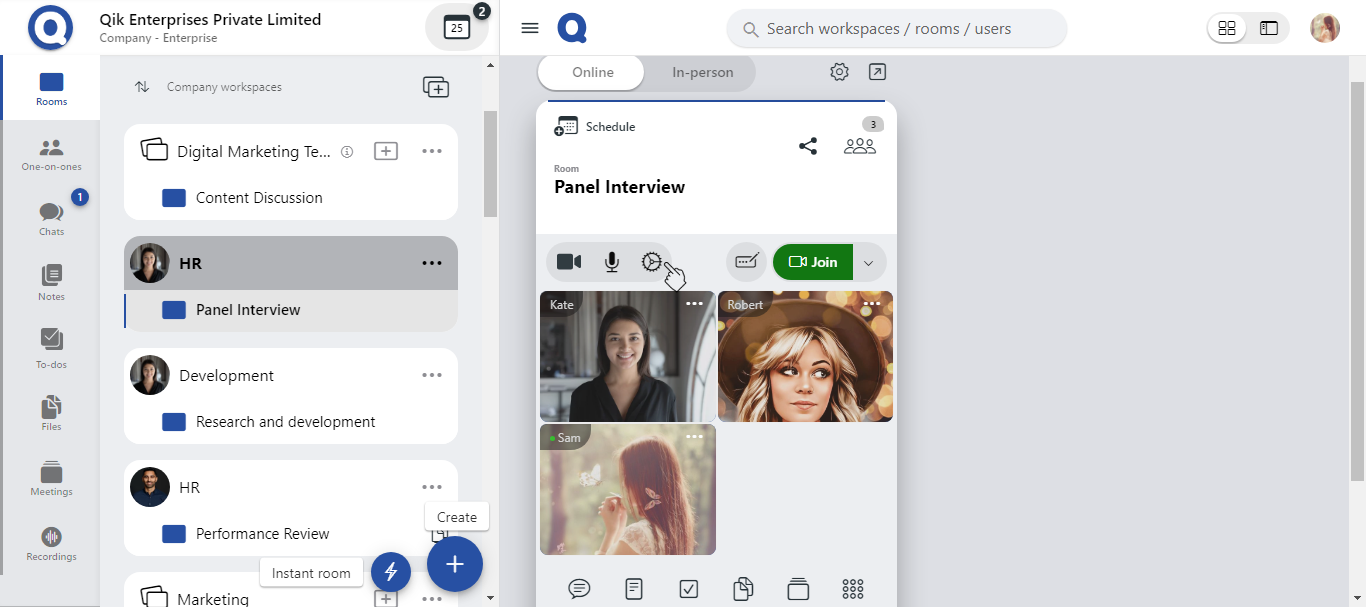
Audio video settings
- Navigate to the room and click on "Audio/video settings" to begin configuring your audio and video devices. This is where you’ll find all the necessary controls for device selection.
- Once in the Audio/Video Settings menu, follow the instructions below to select your preferred devices for both microphone/audio and speaker.
Microphone audio devices
- Choose the Right Microphone: From the settings menu, select the microphone or audio input device you would like to use during the meeting. Ensure the microphone is properly connected and recognized by the system.
- Test the Microphone: Make sure your microphone is functioning correctly by testing it before your meeting begins.
Speaker Devices:
- Select Audio Output Device: Choose your preferred speaker or audio output device from the list of available options.
- Adjust the Volume: Ensure your speaker volume is adjusted to an optimal level to hear all participants clearly.
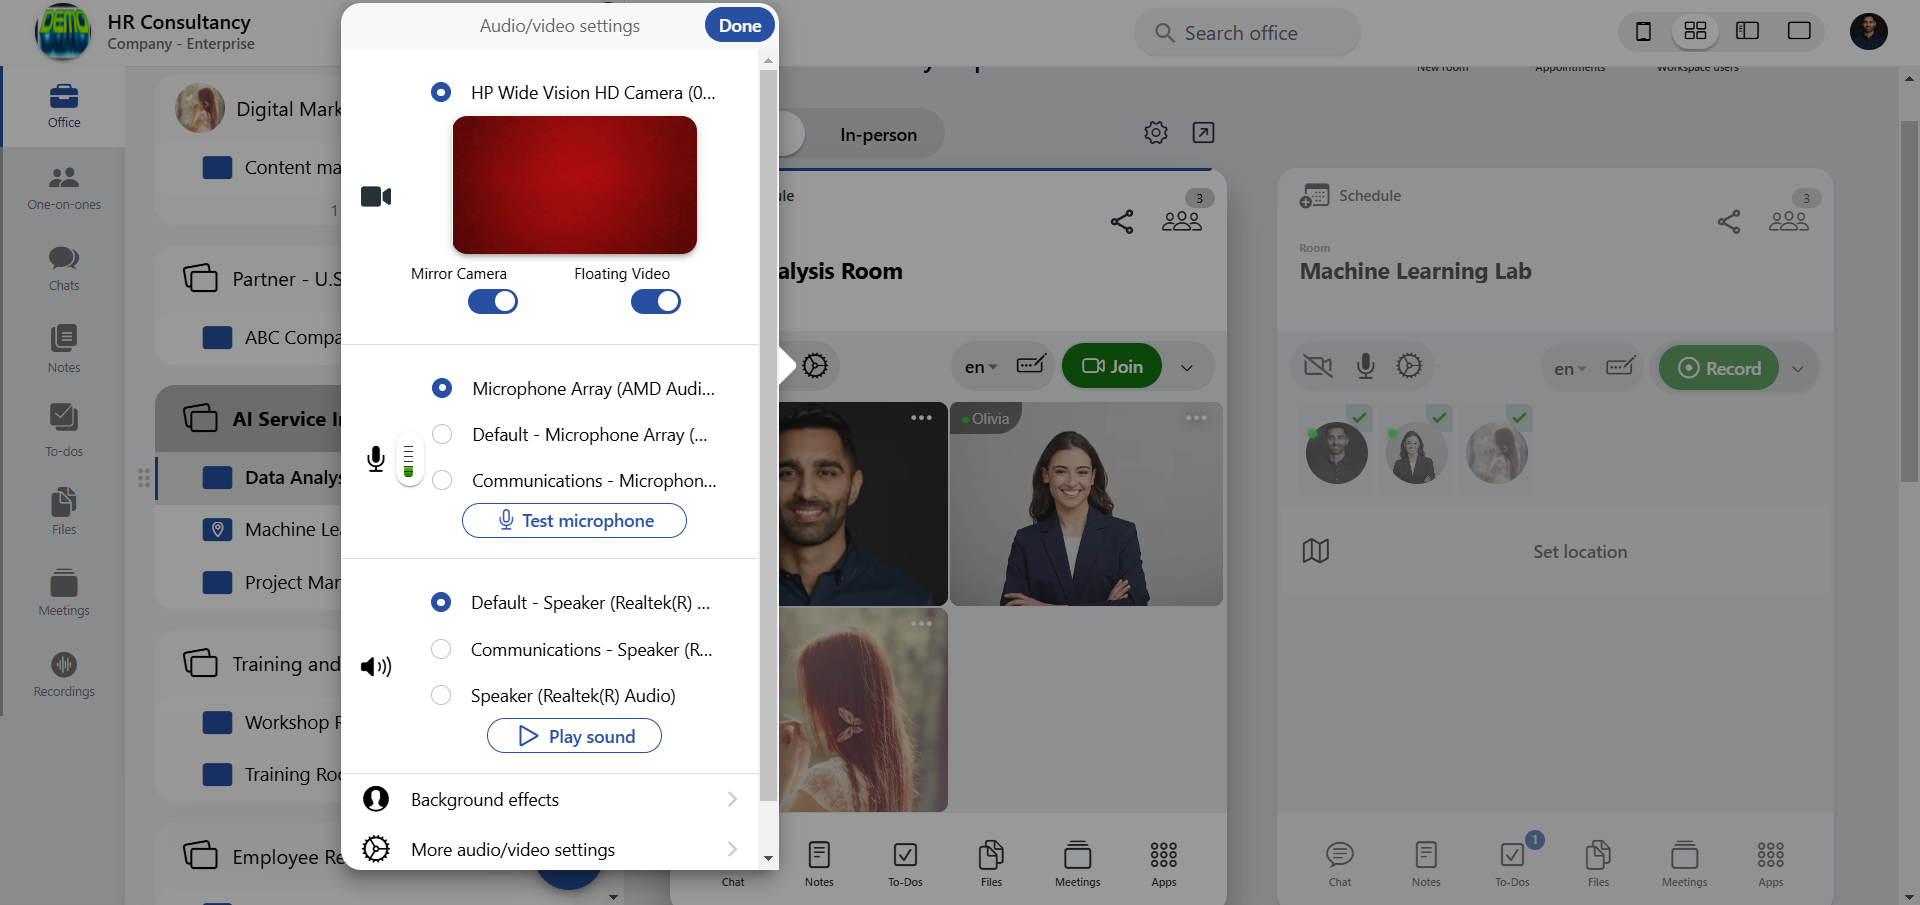
- Once you've selected and adjusted your devices, close the settings menu. Your updated audio/video configurations will be saved and automatically applied to the current meeting session.
Tips for a Better Audio/Video Experience:
- Check Connectivity: Ensure all devices are properly connected before the meeting starts.
- Mute when Not Speaking: Use the mute function when you’re not speaking to minimize background noise.
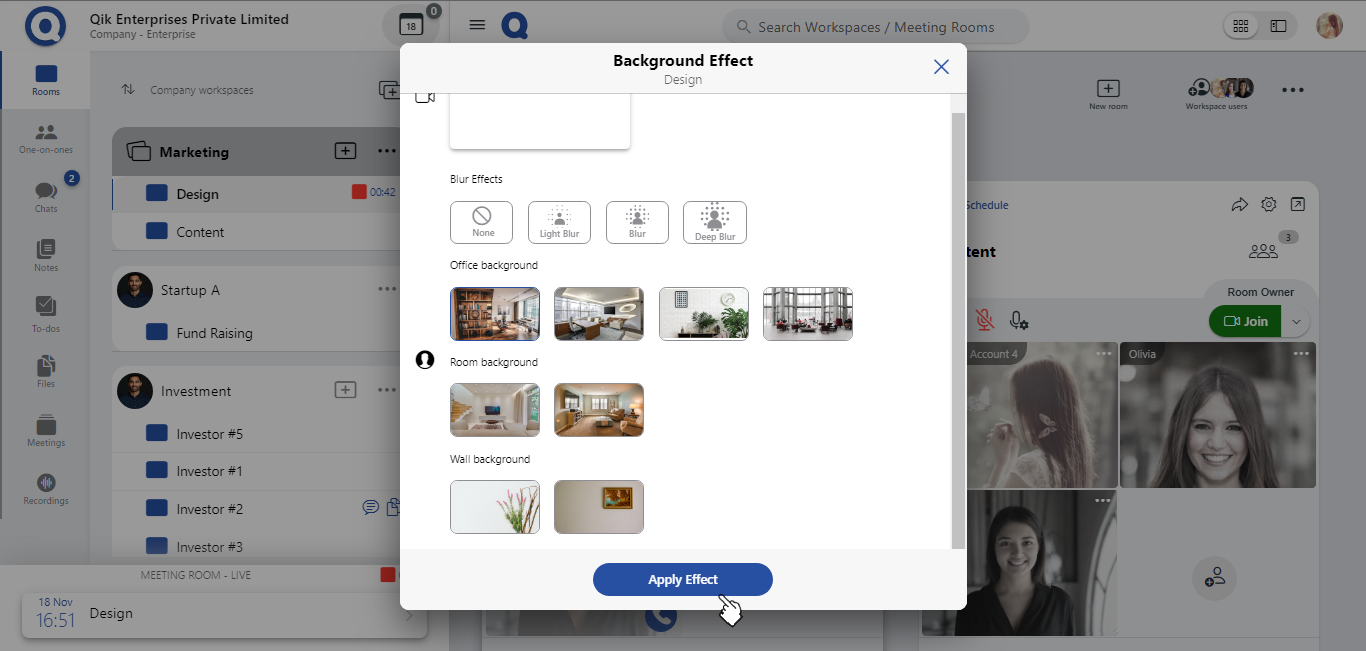
Background settings
-
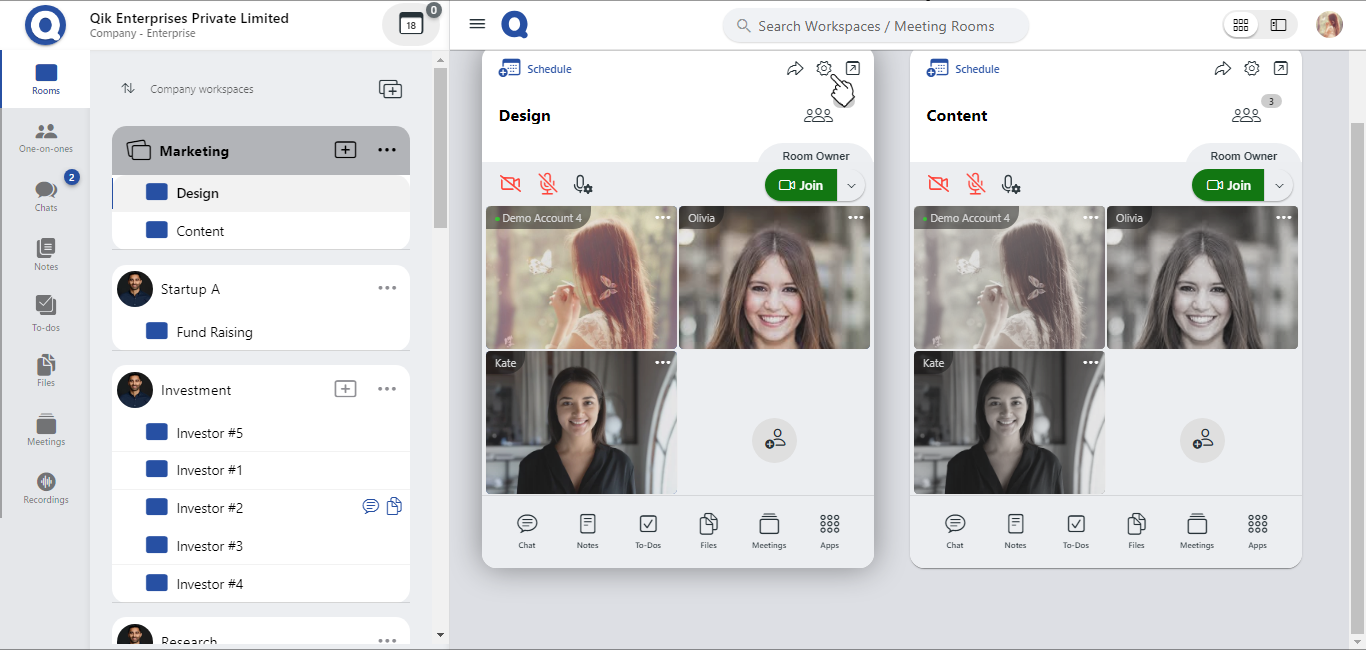
Click on the "Room settings" option within the room interface.
-
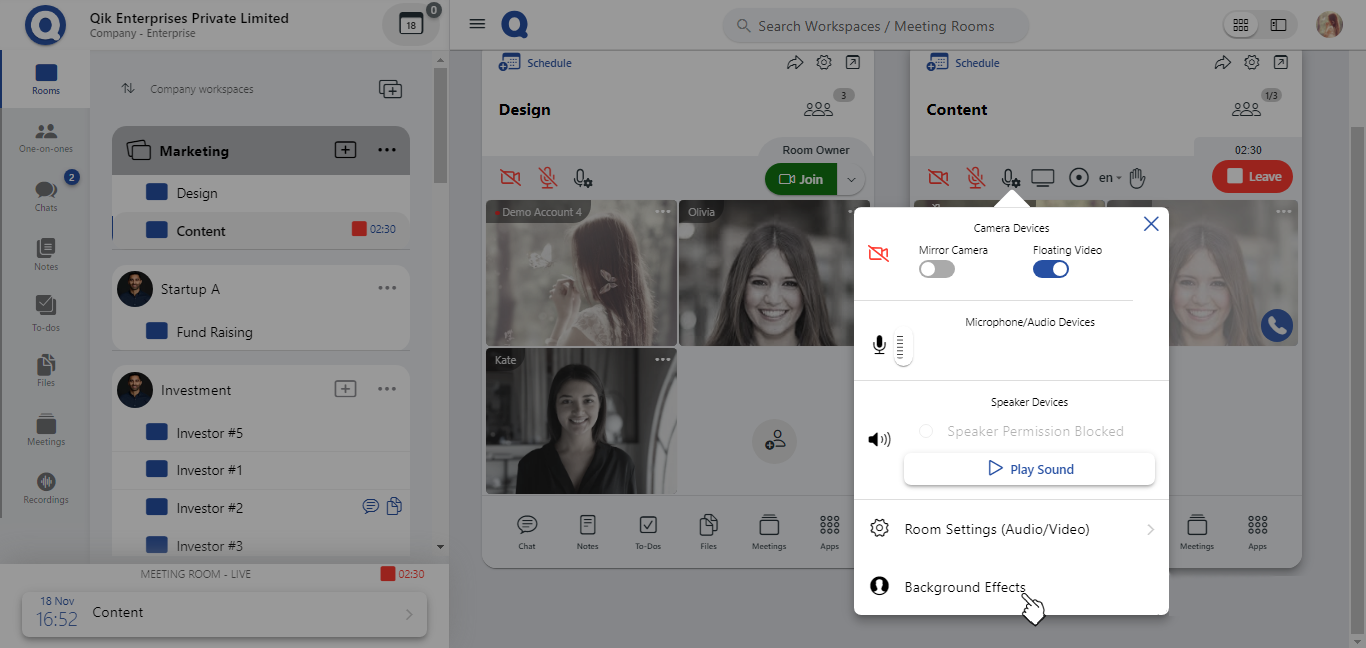
In the settings menu, locate and select "Background effects" to open the customization options.
-
Browse through the available effects and click on "Apply effect" to set your chosen background effect.
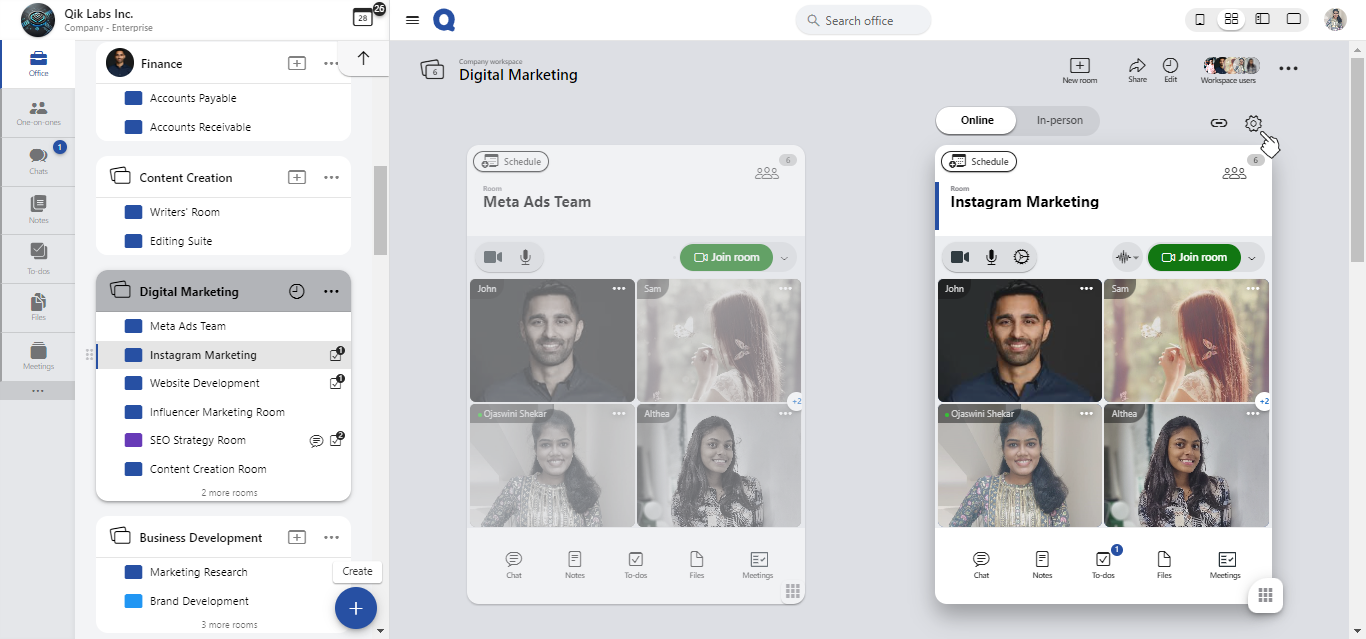
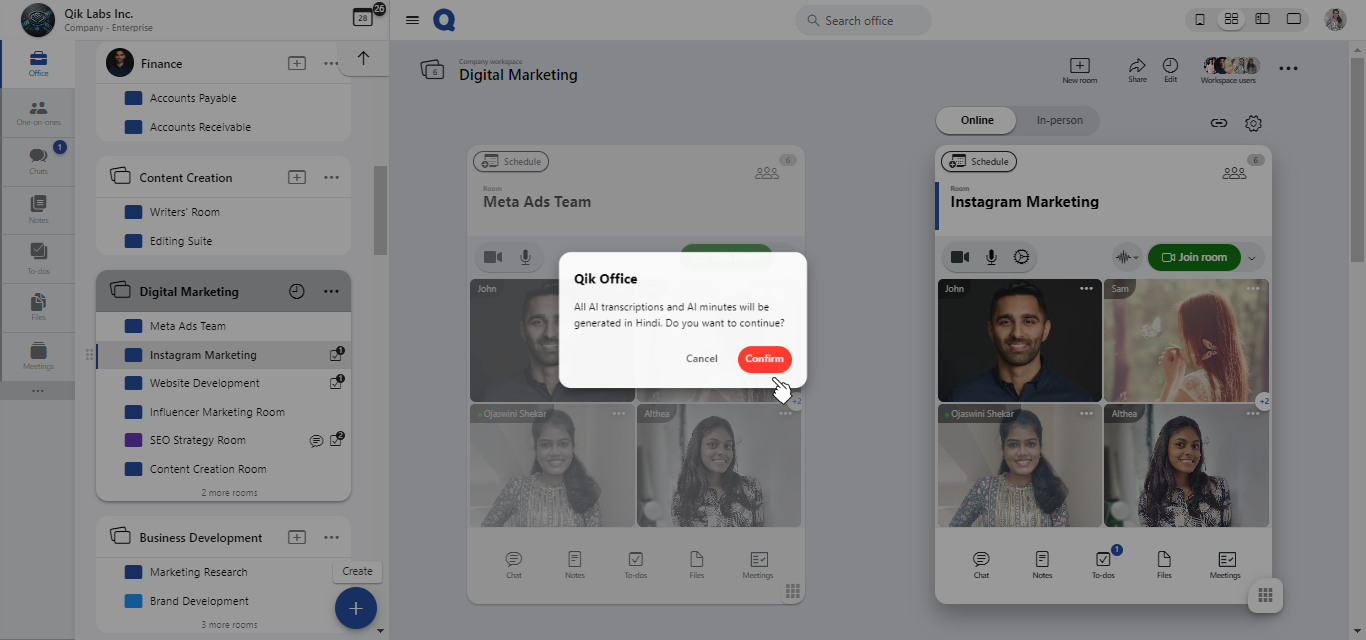
Language settings
-
Click on the room settings icon located above the room.
-
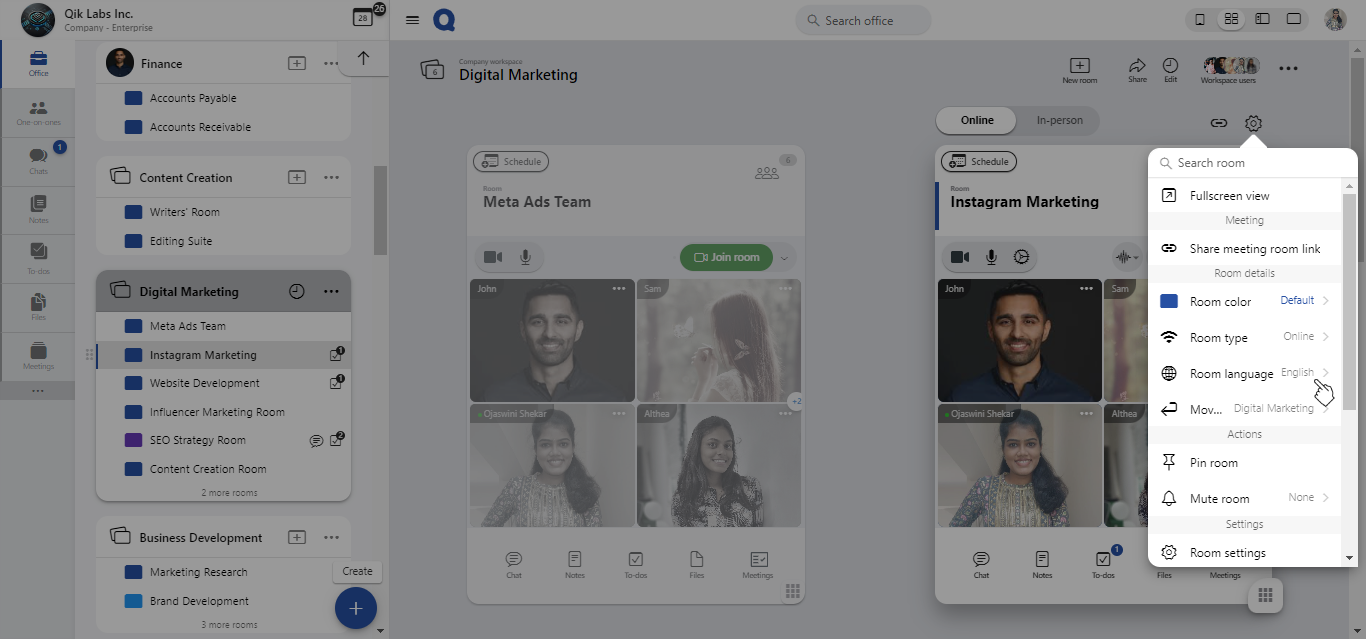
From the drop-down menu, select the option labeled "Room language".
-
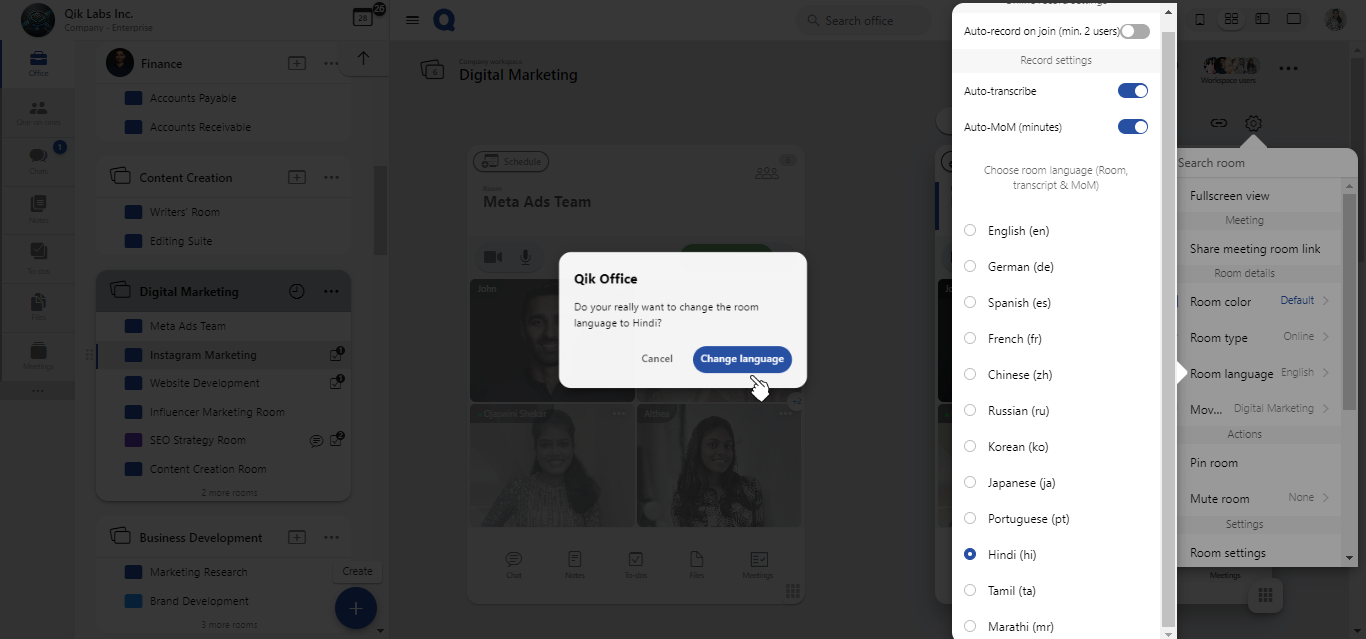
A list of available languages will appear. Browse through the options and select the language you wish to set for the room.

-
Once you've selected your preferred language, click the "Choose language" button to confirm your choice.
-
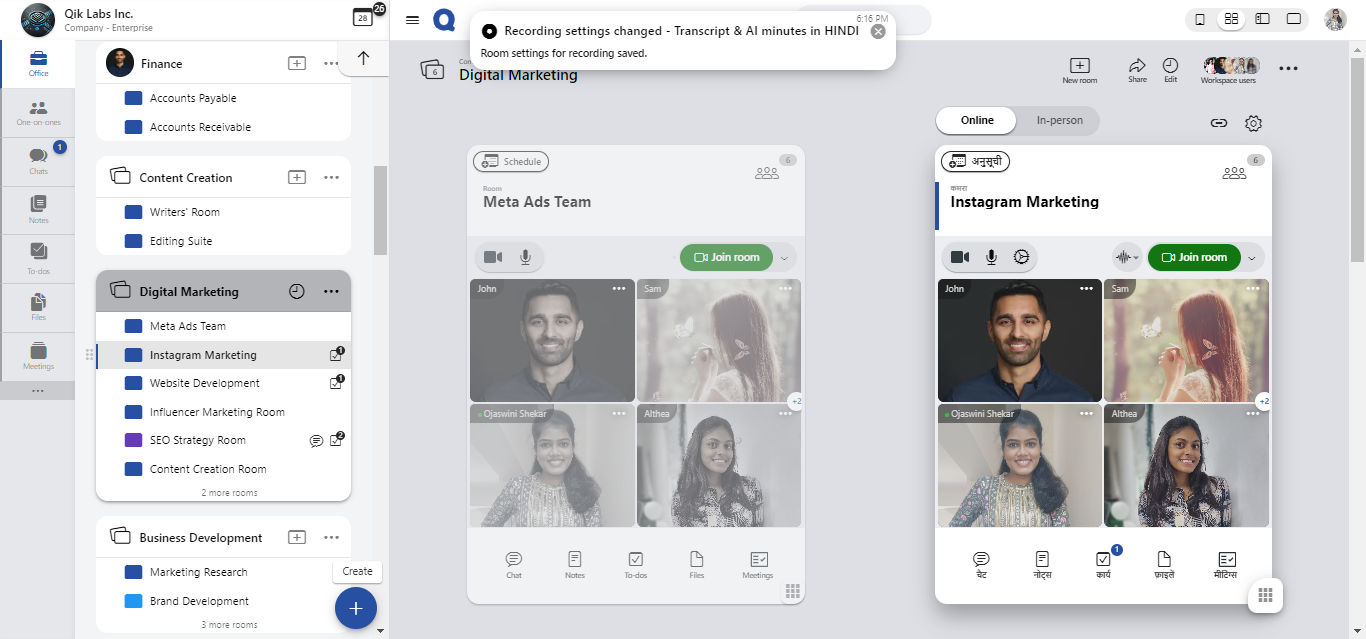
To apply the new language setting, click "Confirm".
-
Your room will now display in the selected language.
Convert to public or private room
- Navigate to your room.
- Click on the "Settings" option located in the menu.
- From the dropdown, select "Room settings" to open the configuration options.
- In the room settings, find the “Room access” toggle and switch it to adjust the access settings, making the room either public or private based on your preference.
Mute room
- Select the room you want to mute.
- Click the "Settings" option.
- From the dropdown menu, select 'Mute room".
- Click "Silence" to confirm and apply the mute.
- The room is muted.