Online room
Qik Office's Online Rooms provide a seamless, real-time collaboration experience that enables effortless communication with clients, vendors, and team members—no matter where they are. With just a click, you can quickly switch between multiple rooms and instantly connect with anyone, anywhere.
Key features
1. Real-time collaboration
Effortlessly collaborate with clients, vendors, and teammates in real-time, regardless of location.
2. Multi-room switching
Instantly move between multiple meeting rooms with a single click, optimizing your workflow.
3. Seamless connectivity
Connect with anyone at any time—whether they are across the globe or in the next room.
4. Ease of use
Designed for simplicity, Qik Office ensures that joining or creating meetings is fast and intuitive for everyone.
Benefits
- No Technical Hassles: Set up and join meetings in seconds.
- Efficient Workflow: Switch between different rooms without disruptions.
- Increased Productivity: Real-time communication boosts efficiency in decision-making and collaboration.
How to create an online room?
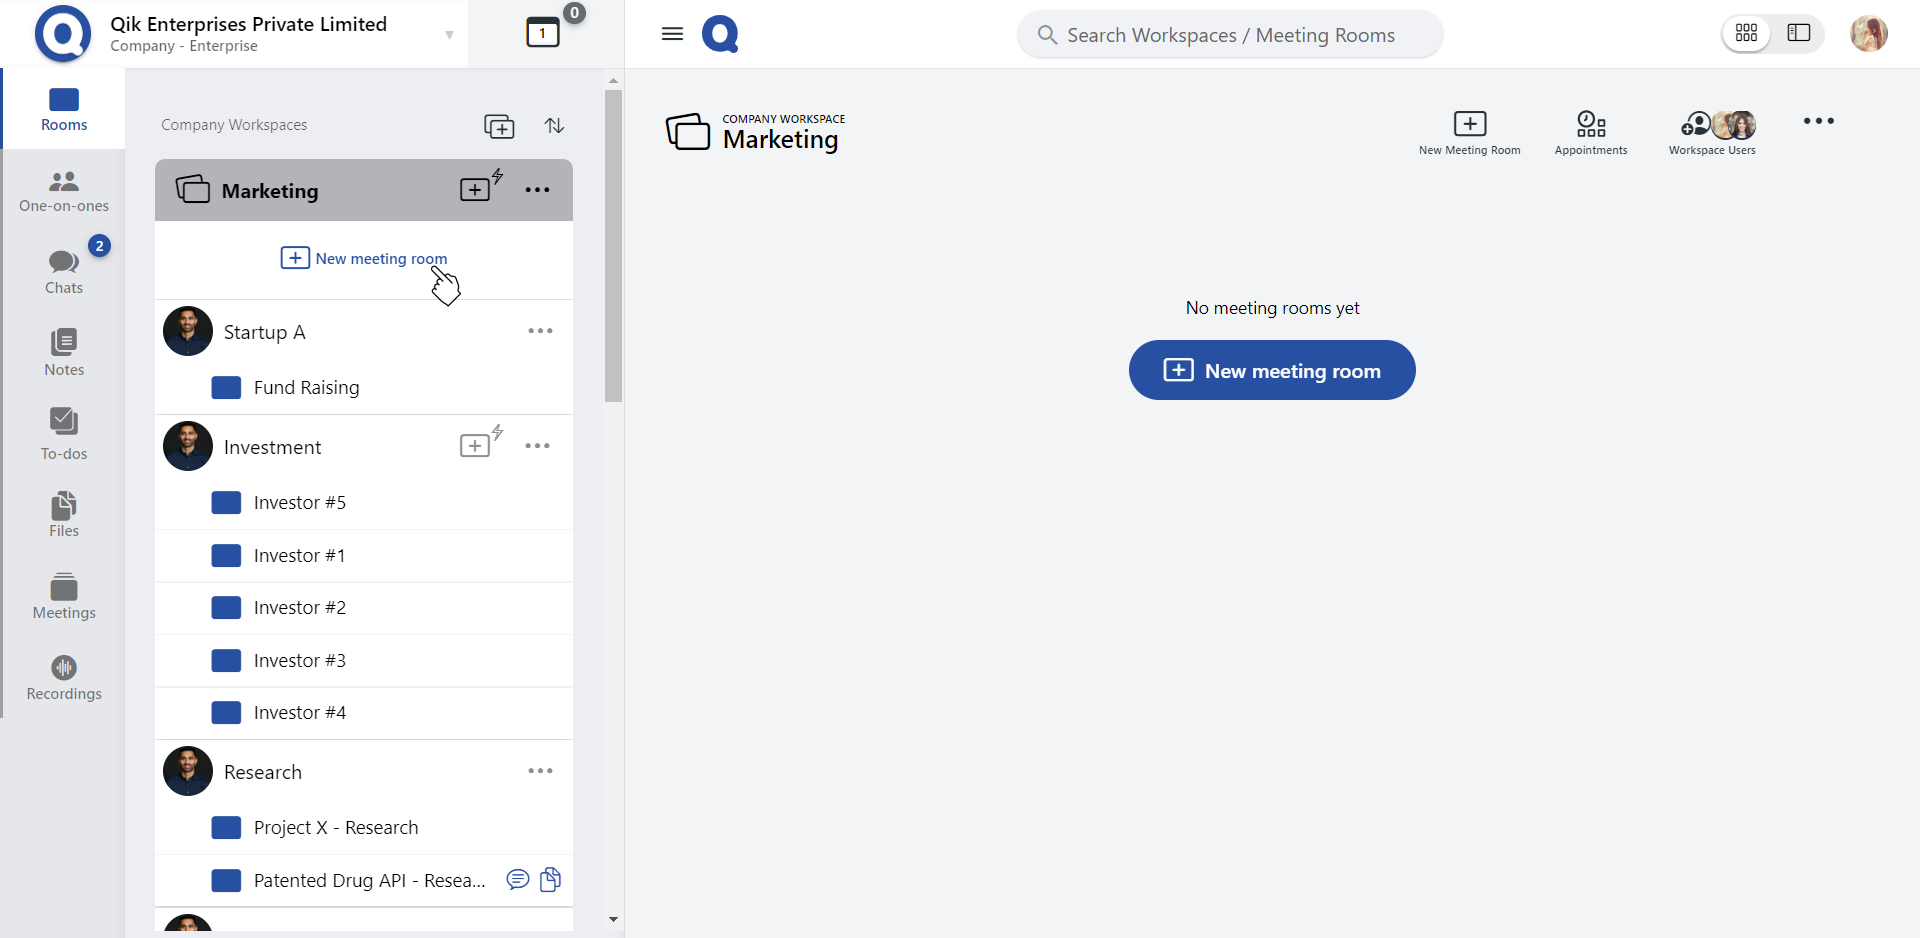
Method 1
-
In your workspace, click on the "New room" icon to create a room.
-
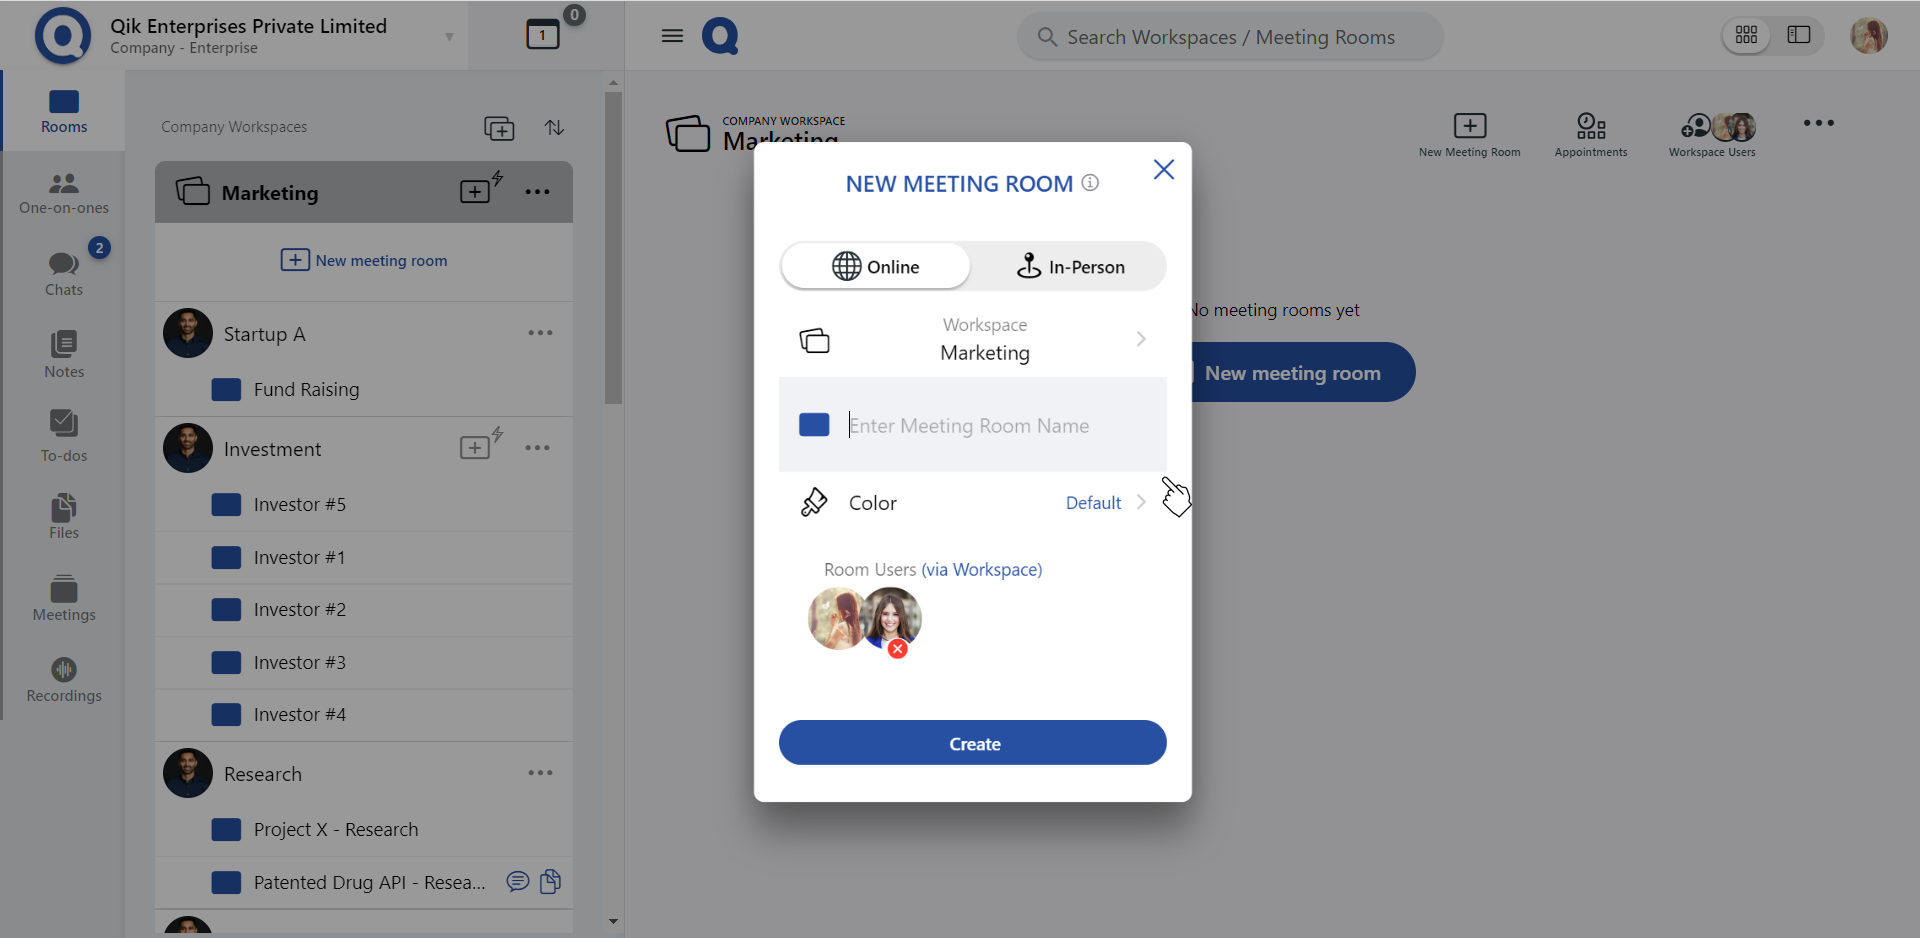
On the "New room" page, provide a unique name or click "Suggest room names" for the room.
-
Select a colour that suits the theme or purpose of your room. Customizing your room will make it more easier to distinguish from others.

-
Click on the "Add room users" button to invite individuals to your room.
-
Enter the email address of the users you wish to invite, or select from the available list of users.
-
Assign the users with specific roles "User", "Editor", or "Owner" based on what level of access you’d like to give them.
-
If you want to schedule a meeting in the room, click on "Add schedule".
-
Once everything is set, click the "Create"
-
Your online room is now successfully created and ready for use.
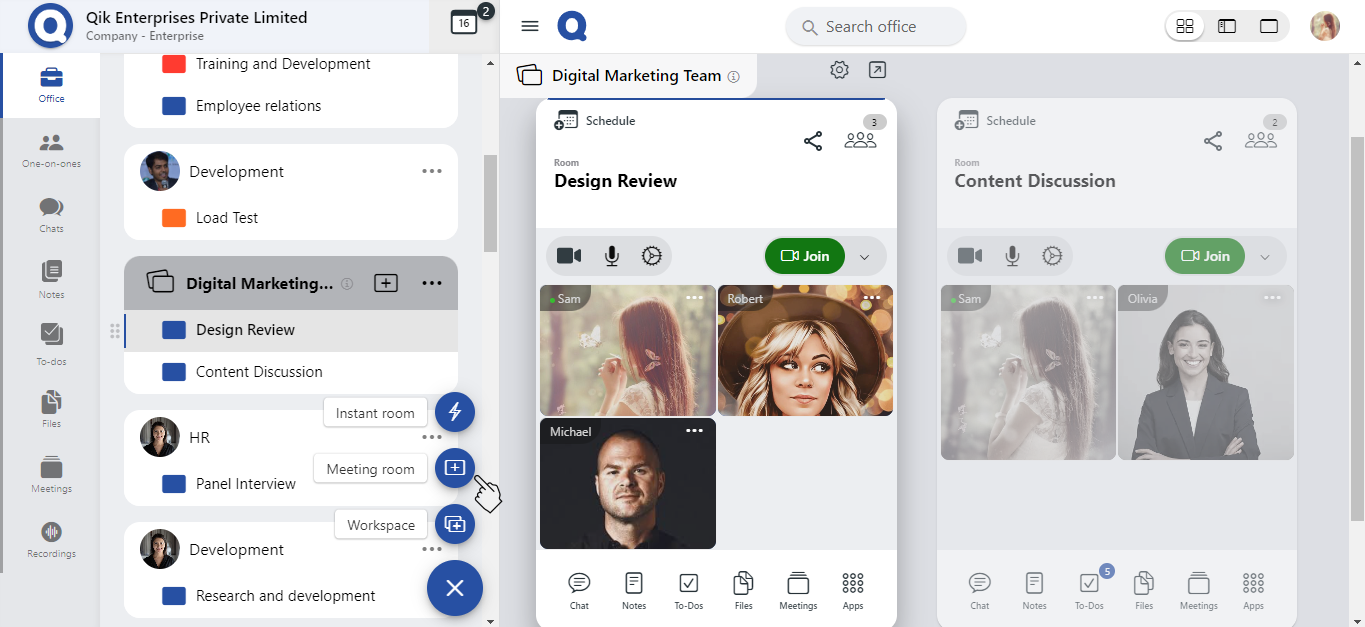
Method 2
-
Click on the "Create" button and select "Room" from the options.
-
On the "New Room" page, enter a unique name for your room, or click on "Suggest room names".
-
Select a colour that represents the theme or purpose of your room. Customizing the colour helps make your room easily identifiable.
-
Click on the "Add room users" button to invite individuals to your room.
-
You can either manually enter the email addresses of the individuals you want to invite or choose from the list of available users.
-
Assign the users with specific roles "User", "Editor", or "Owner" based on what level of access you’d like to give them.
-
If you want to schedule a meeting in the room, click on "Add schedule".
-
Once you've added users, assigned roles, and scheduled any meetings, click on "Create" to complete the process.
-
Your online room is now successfully created and ready for use.
You can customize your meeting room's color based on your preference.