Recordings
Qik Office enables users to auto-record meetings,ensuring that all discussions are captured.
Once a meeting is recorded, Qik Office’s AI engine processes the content to extract meaningful, actionable information:
-
Meeting Minutes: Automatically generated summaries highlight the key points, decisions, and next steps discussed during the meeting.
-
Transcriptions: Full, searchable transcriptions with speaker identification are provided for easy review and reference.
-
Action Items: Tasks and follow-ups are identified from the discussion and can be reviewed, tracked, and assigned directly within the platform.
- Record Online Meeting
- Record In-person Meeting
- Chat on Recordings
- Upload recordings
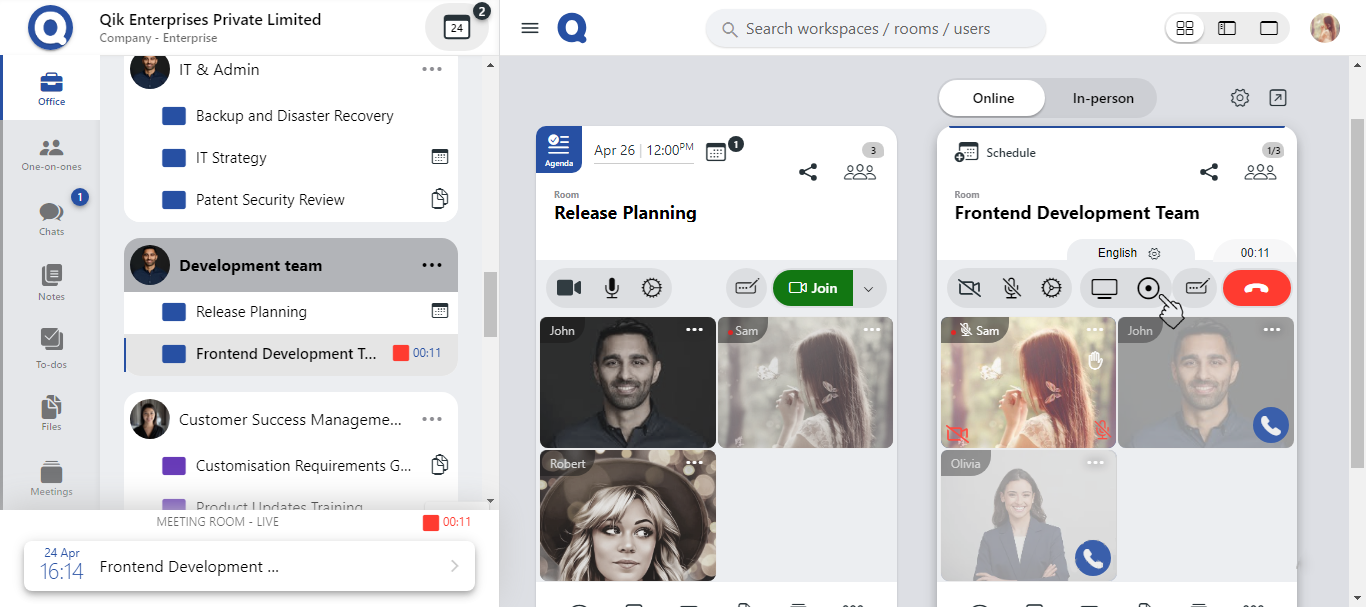
How to record online meetings?
-
Go to your meeting room and click on the "Join" button to enter the meeting.

-
Once you join the meeting, Qik Office automatically starts recording.
-
You can focus on the discussion while Qik Office captures all important details for later review.
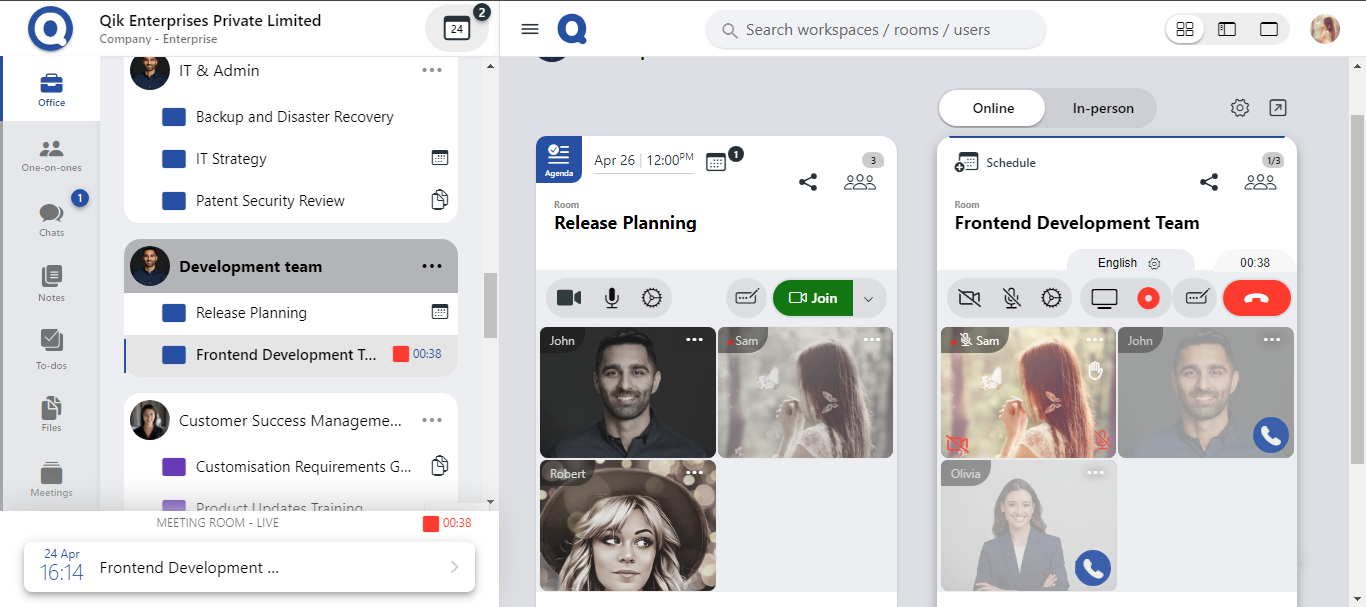
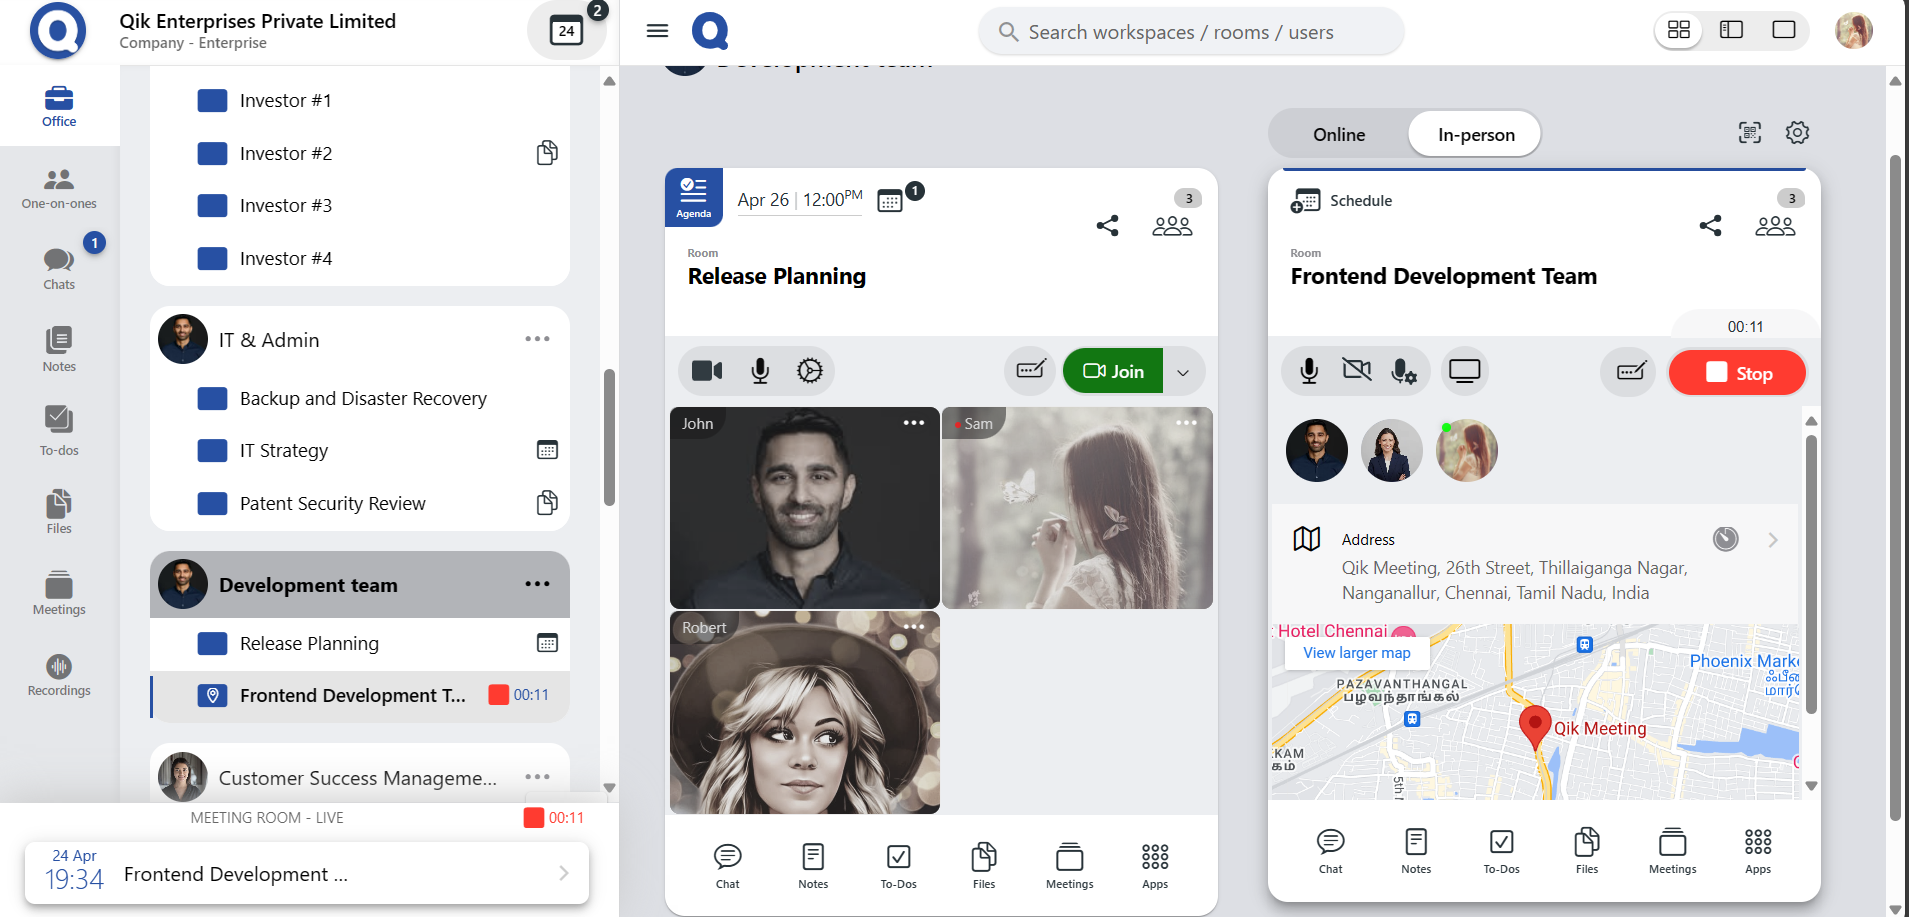
How to record in-person meetings?
-
Go to your scheduled room and click on the "Record" button to begin the recording process.
-
Once the "Record" button is clicked, Qik Office automatically starts recording the meeting. You can now focus on the discussion.
How to chat on recordings?
-
Go to the room to view and access all recorded sessions associated with your meetings.
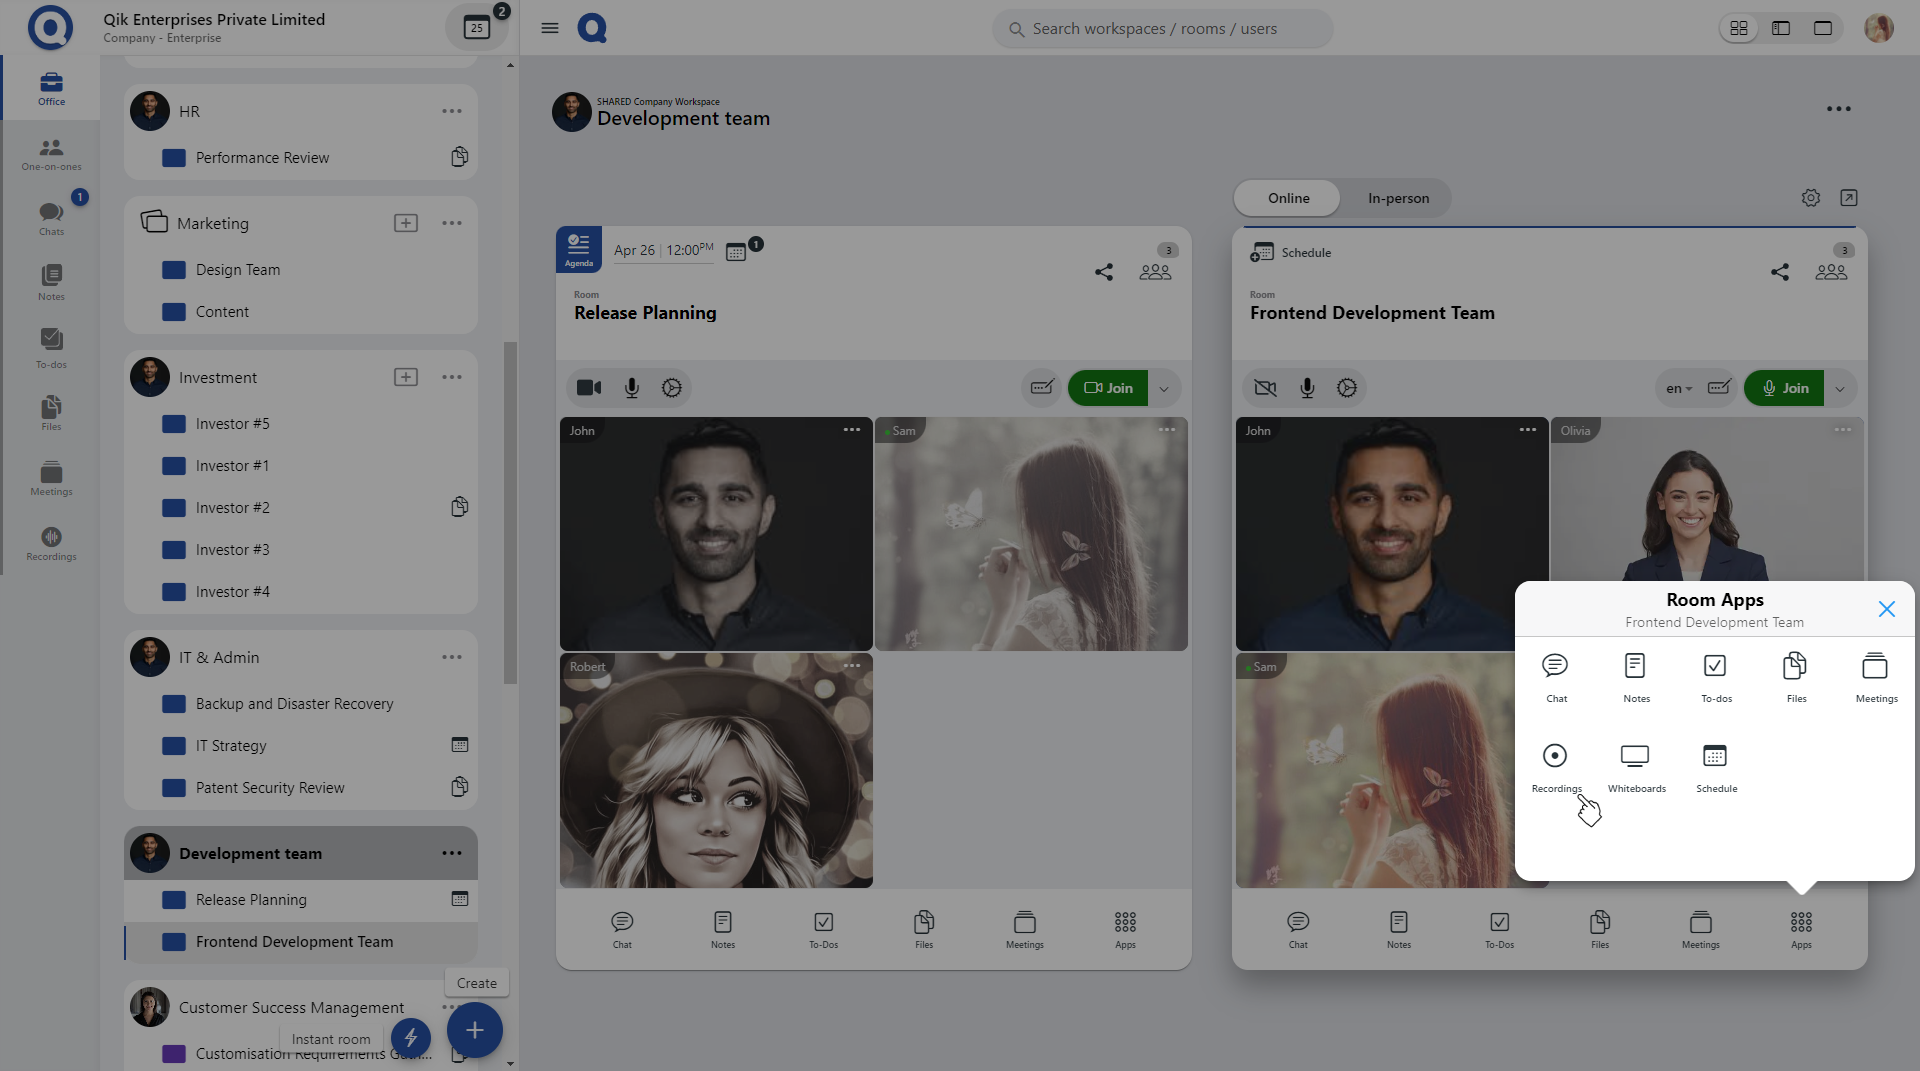
-
Click "Apps" and select "Recordings".
-
In the recordings panel, you can play back recorded meetings at your convenience, utilize chat features to engage in discussions or provide follow-up comments.
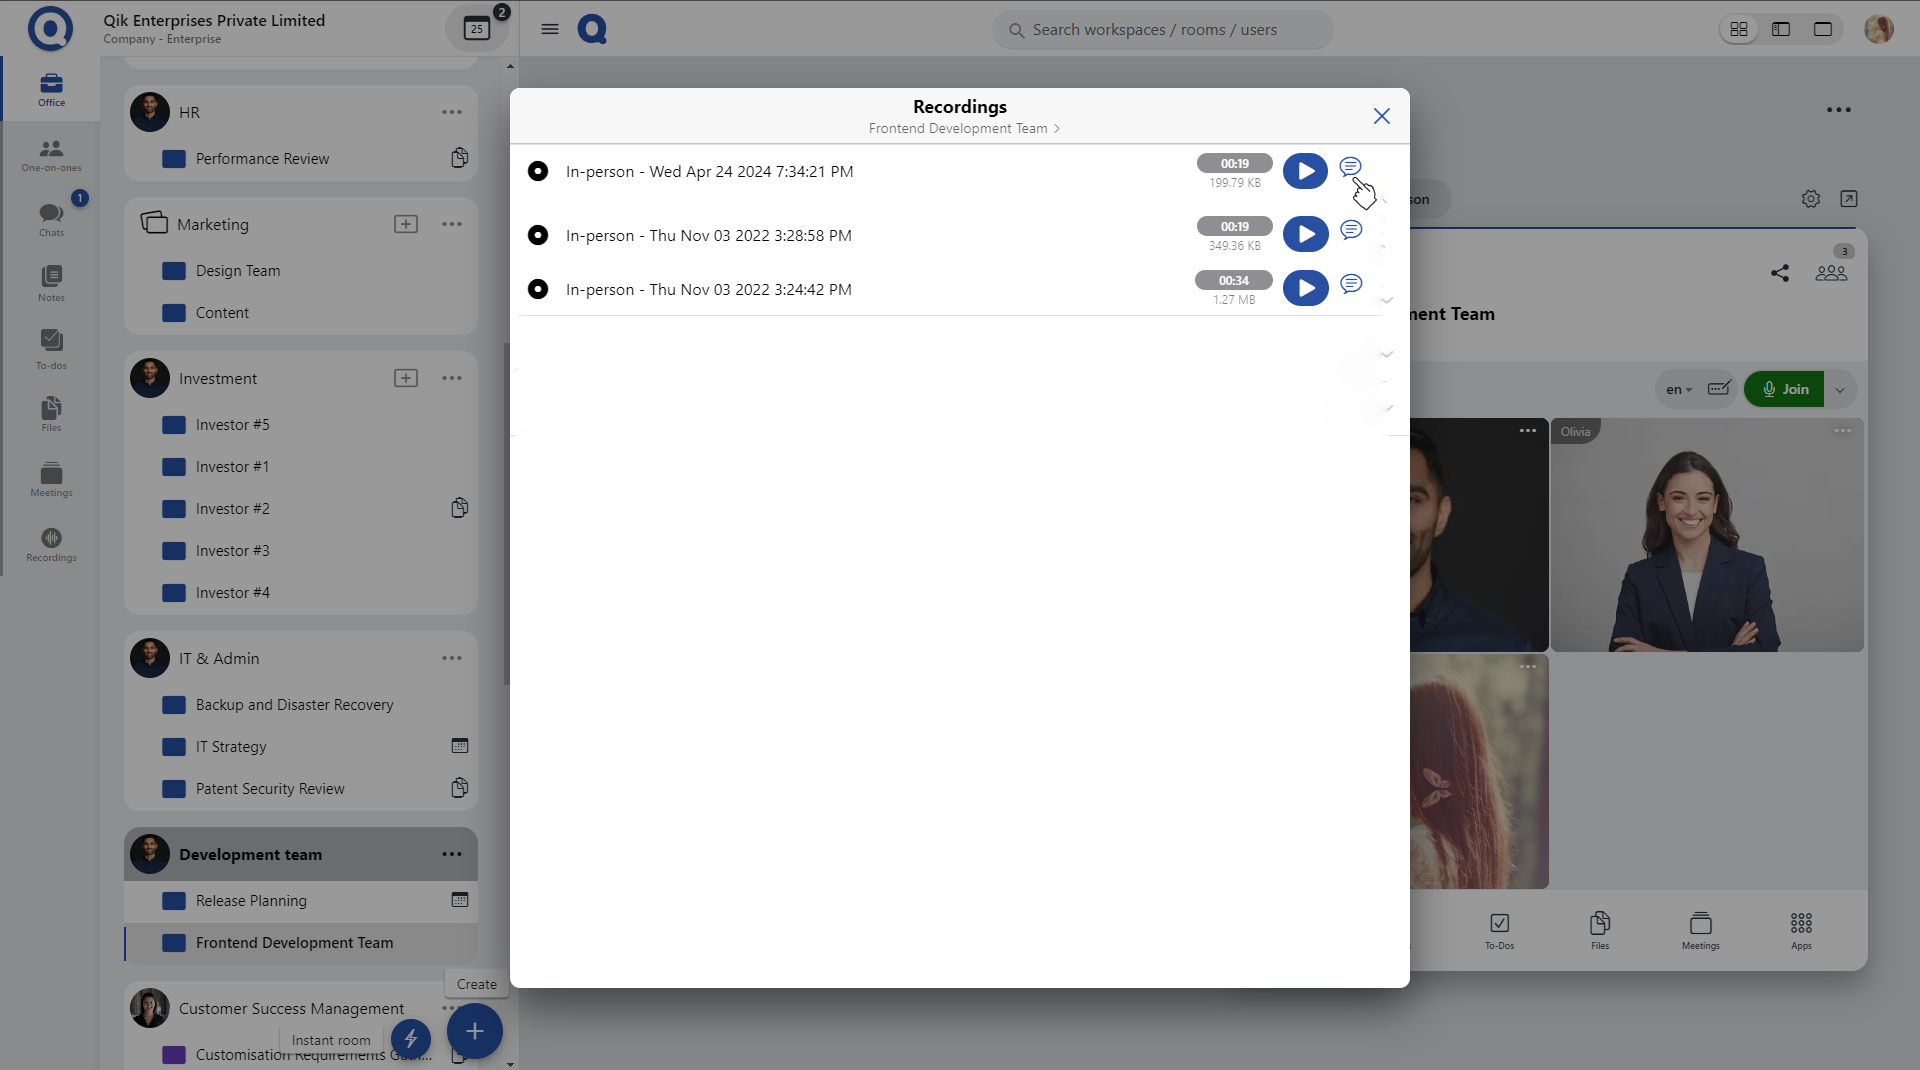
If you have anything important to share after the meeting, feel free to continue the discussion in the chat.
How to upload recordings?
-
Click on the "Apps" button and select "Recordings" from the menu.
-
On the Recordings page, locate and click on the "Upload recordings" button.
-
A date picker will appear. Choose the date when the meeting took place, then click on "Upload recording" to proceed.
-
You can either browse your file system to select the recording files or simply drag and drop the files directly into the designated upload area.
-
Once the files are selected, click on the "Create" button to finalize the upload.
-
Your recording will now be successfully uploaded to the platform. It is available for playback or can be used for further actions within the room.