How to create an appointment calendar?
-
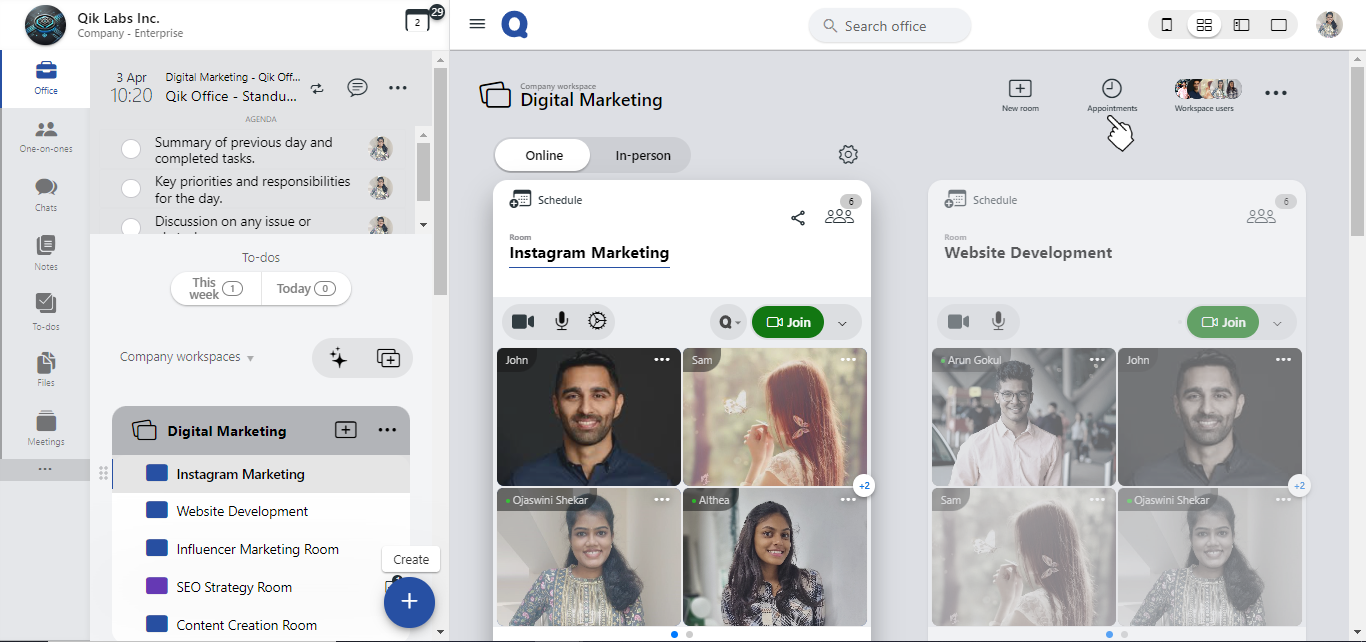
Click menu and select "Add appointment calendar."
-
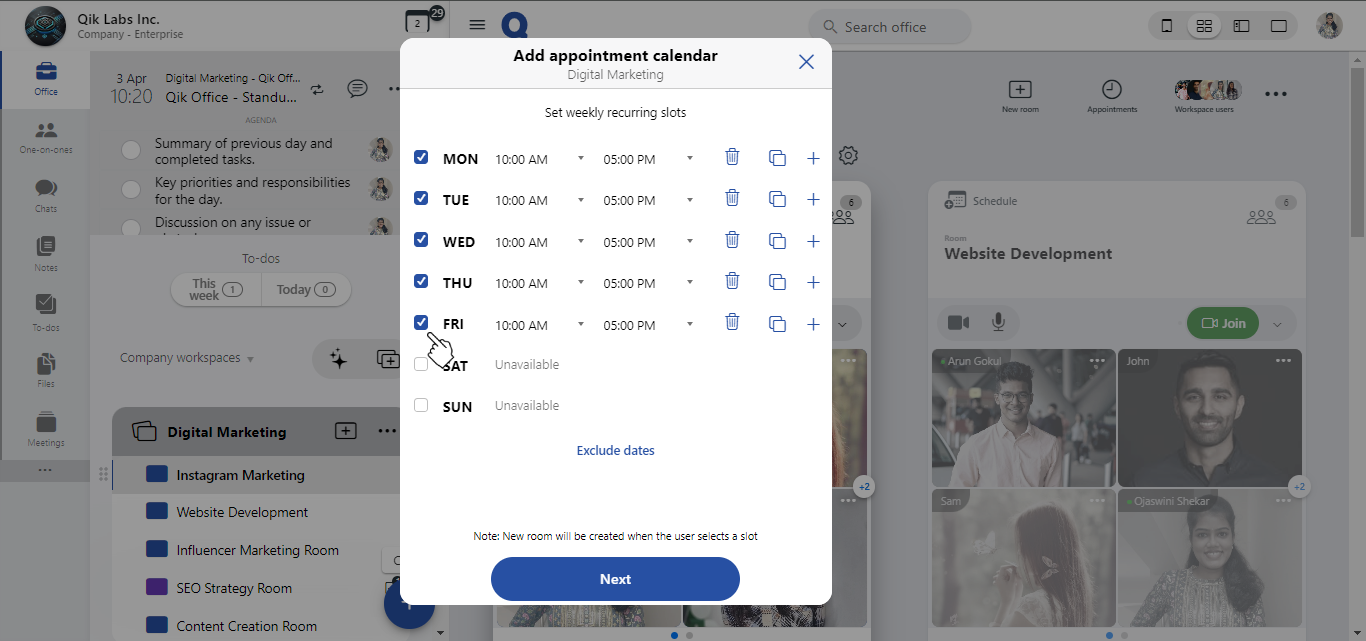
Choose your preferred availability by checking the boxes and adjusting the times for each day. This will define when you are available for meetings.
-
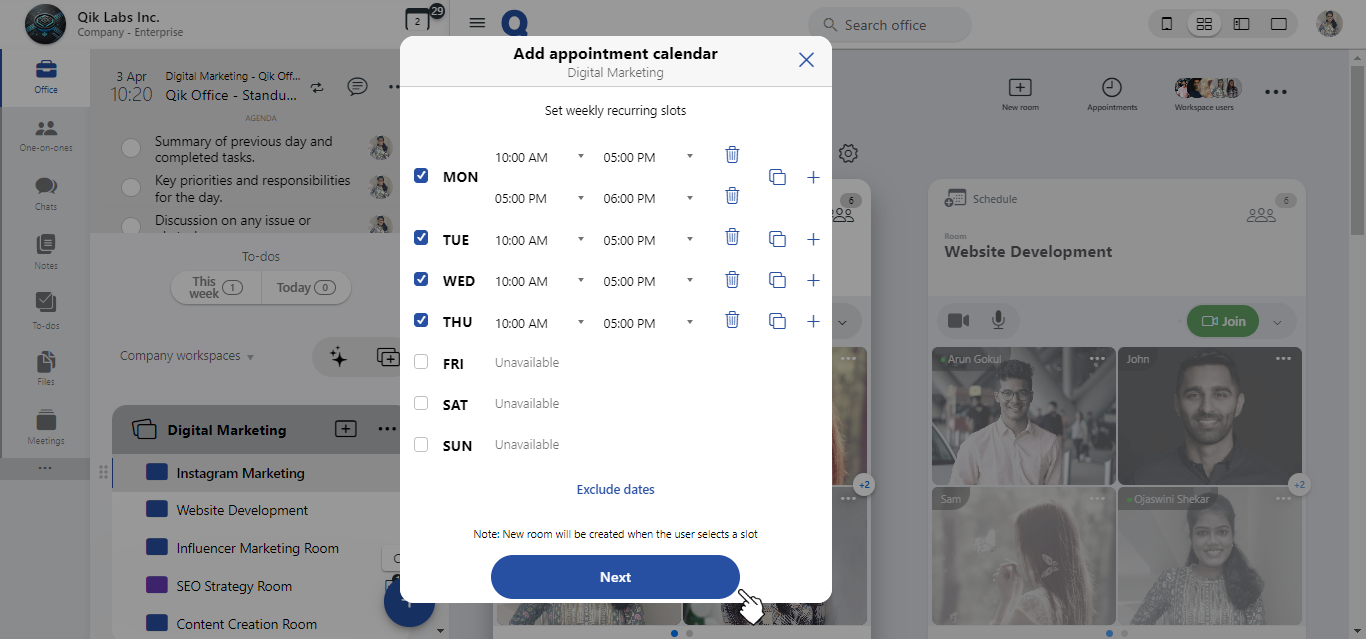
To duplicate your existing schedule, click "Copy schedule" or click the "+" button to add more time slots as needed.

-
If there are days you are not available, simply click the bin next to those days to remove them from the calendar.

-
Once you’ve set your availability, click "Next" to continue to the next stage of the setup.
-
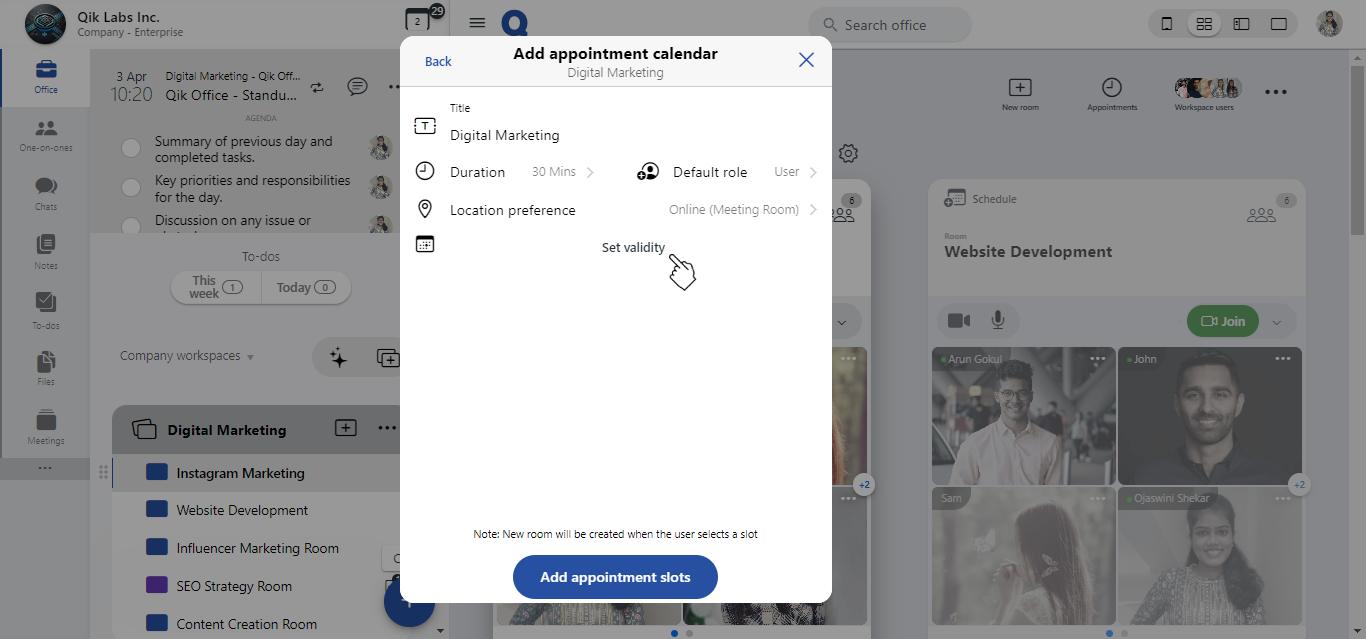
Enter a name for your appointment calendar to easily identify it.
-
Define the meeting duration and assign user roles to ensure the right people have the correct permissions.
-
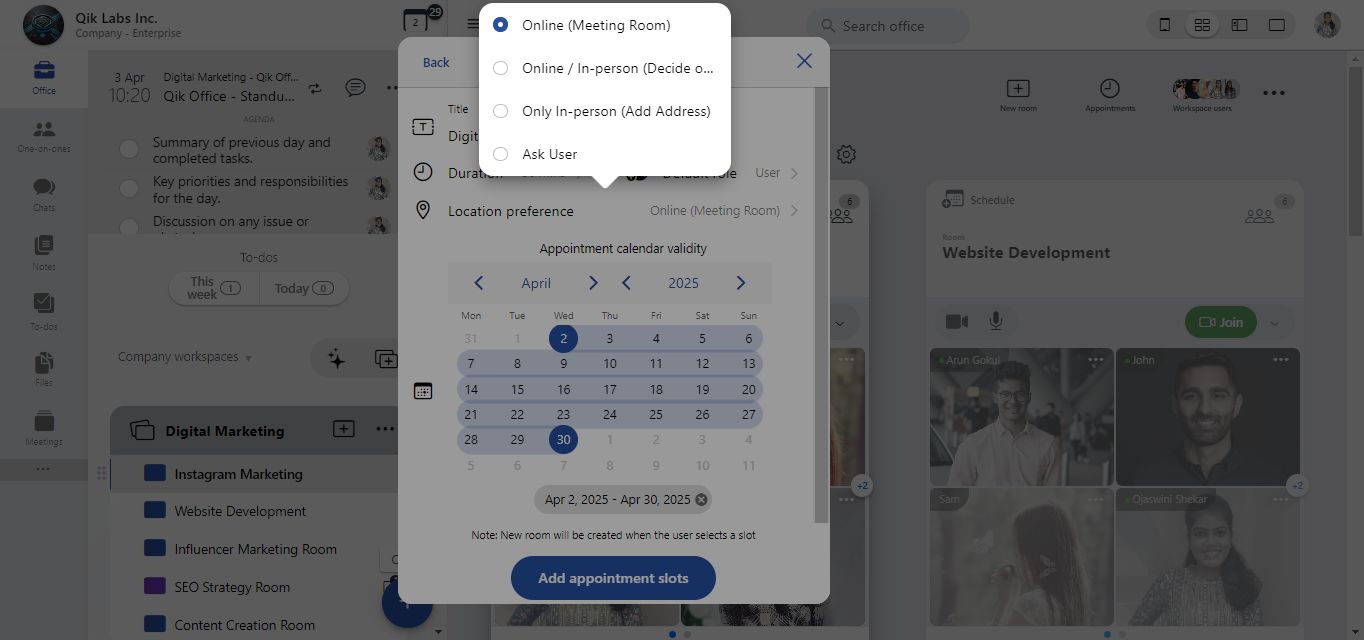
Choose your preferred meeting location from the following options: - Online meeting room - Online / In-person: decide on request. - Only in person - Ask the user
-
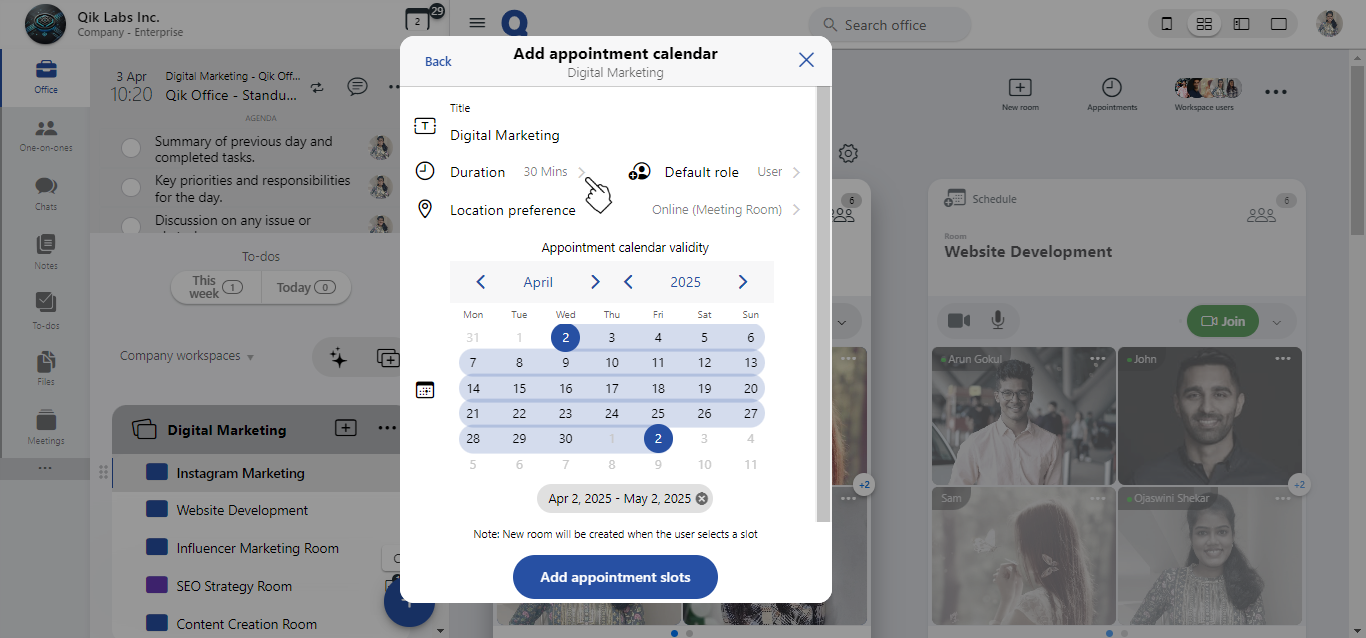
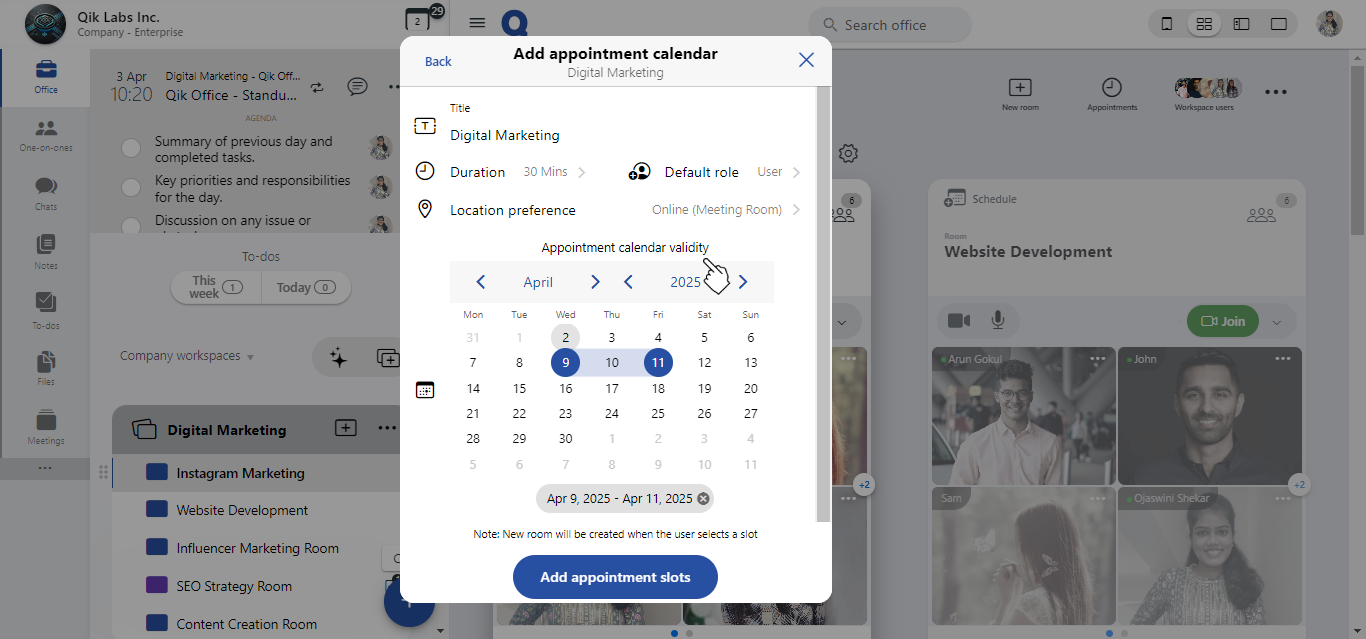
Define the validity period for your calendar and select the available dates for your appointments.
-
Once everything is set, click "Add appointment slots" to finalize and create your calendar.

-
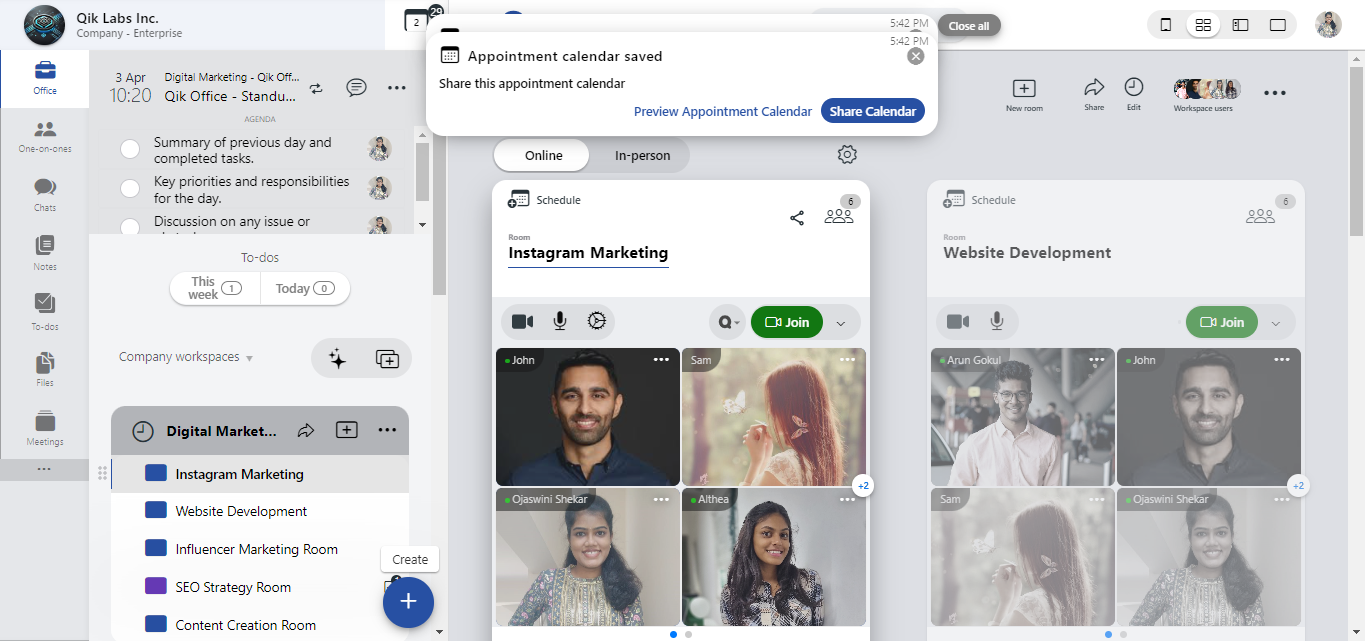
Your appointment calendar is now set up and ready to be shared with others.