Managing to-dos in Qik Office
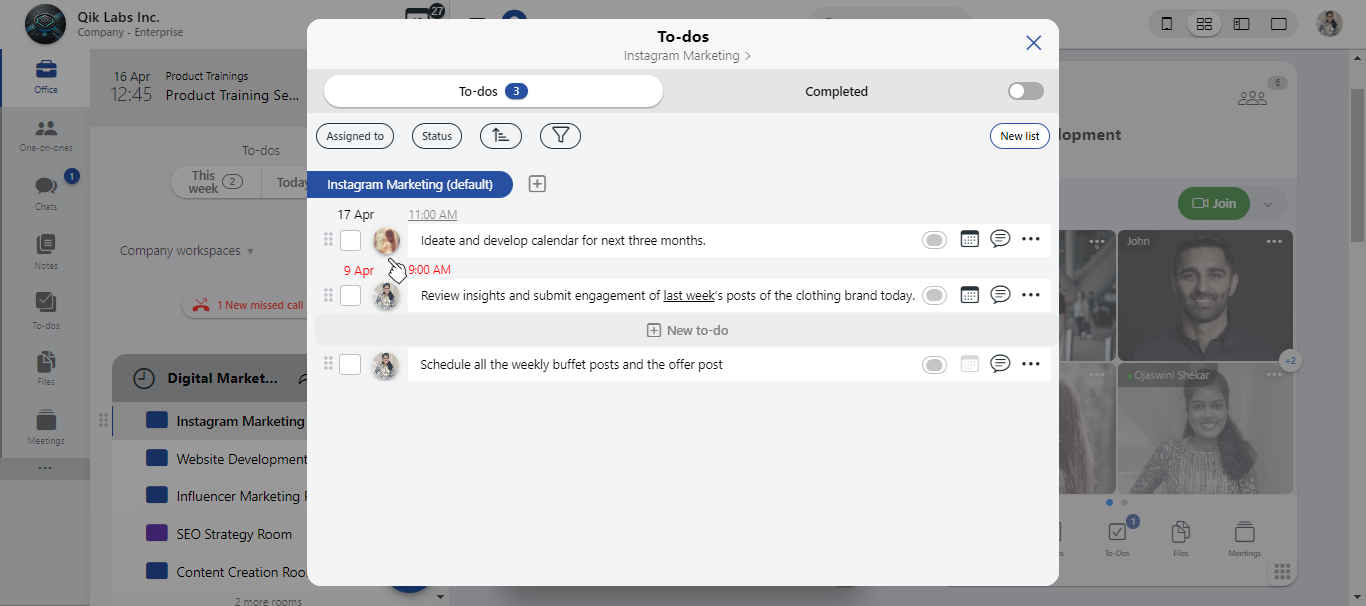
To-dos in Qik Office allow you to track tasks effectively. Follow these steps to manage your to-dos efficiently:
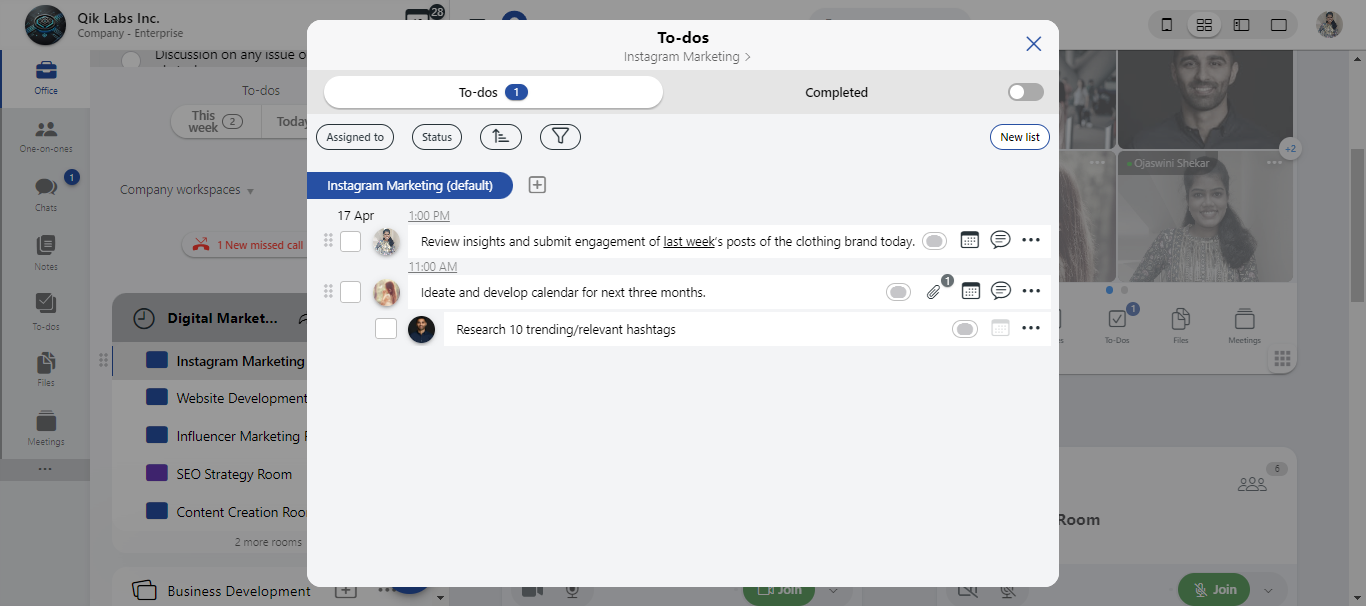
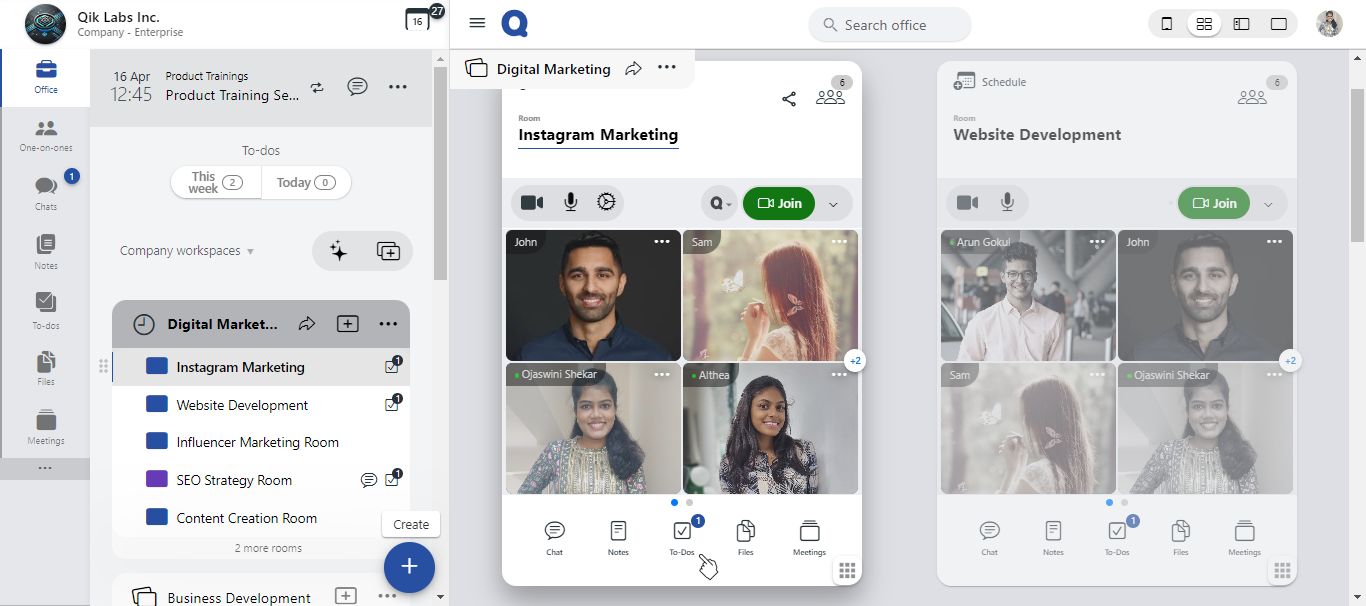
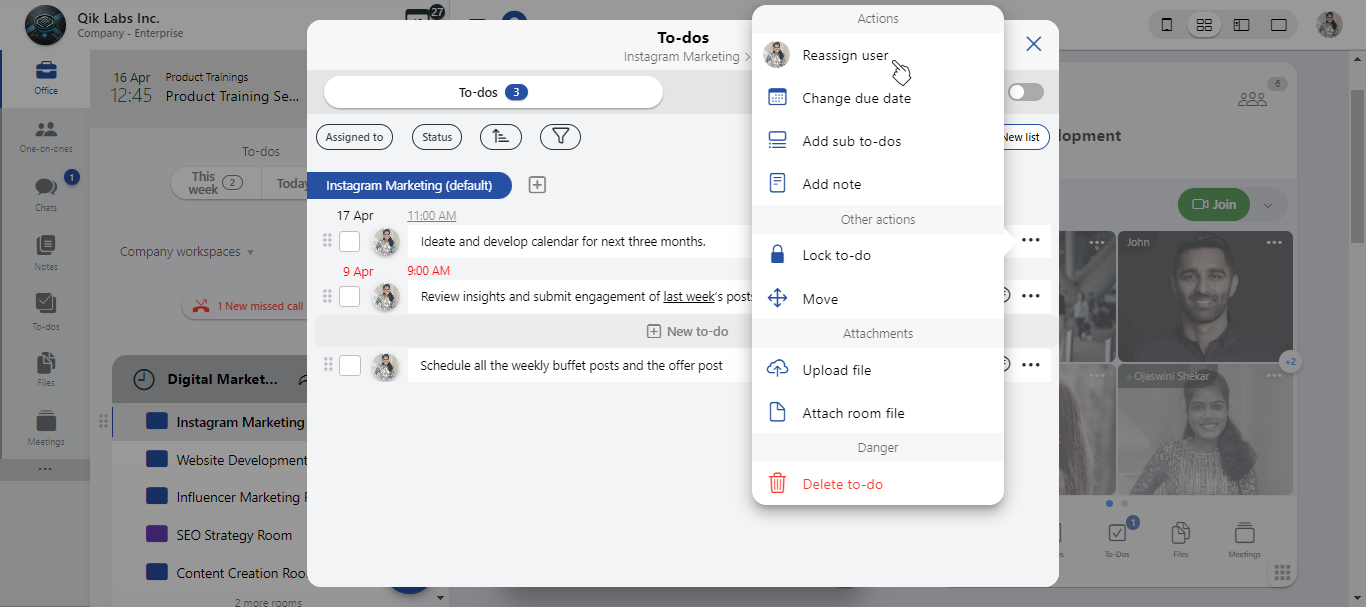
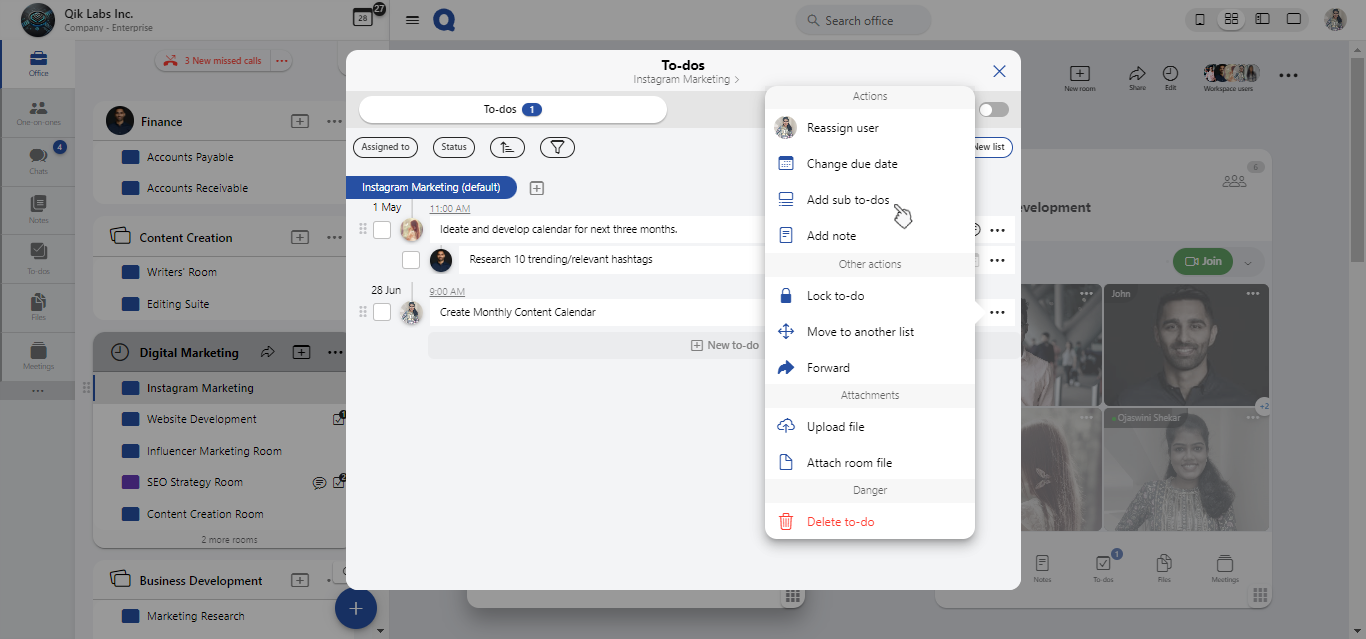
How to access to-do options
-
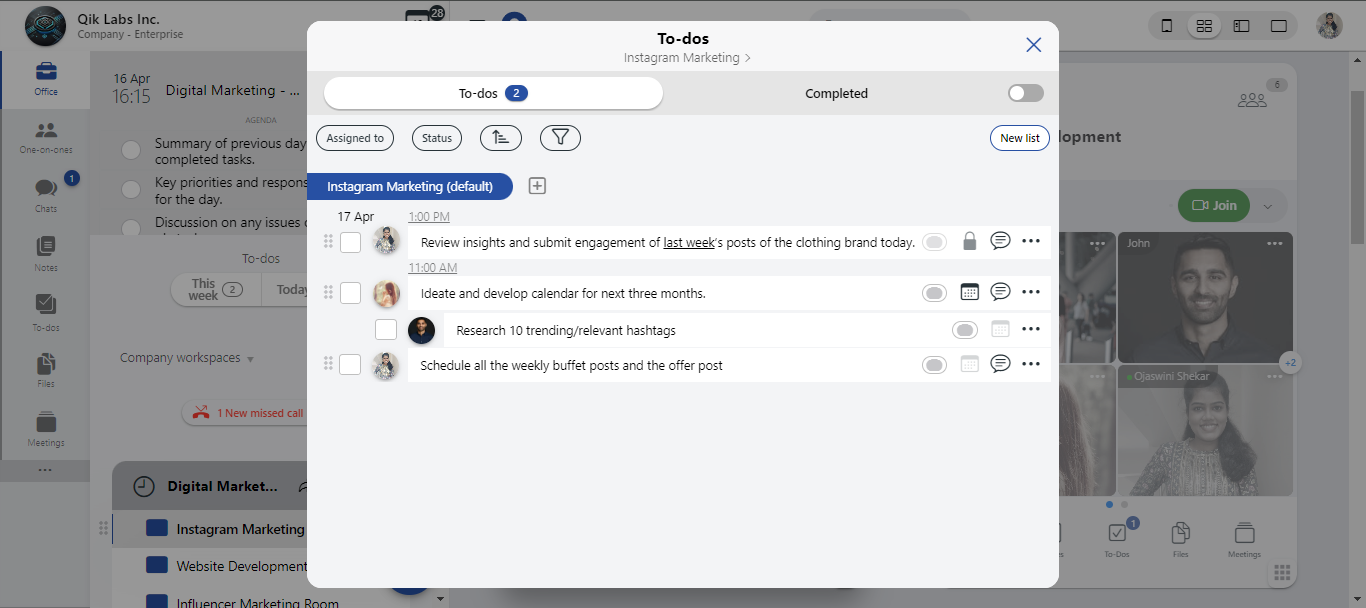
Select "To-dos" from the meeting room or a one-on-one chat.
-
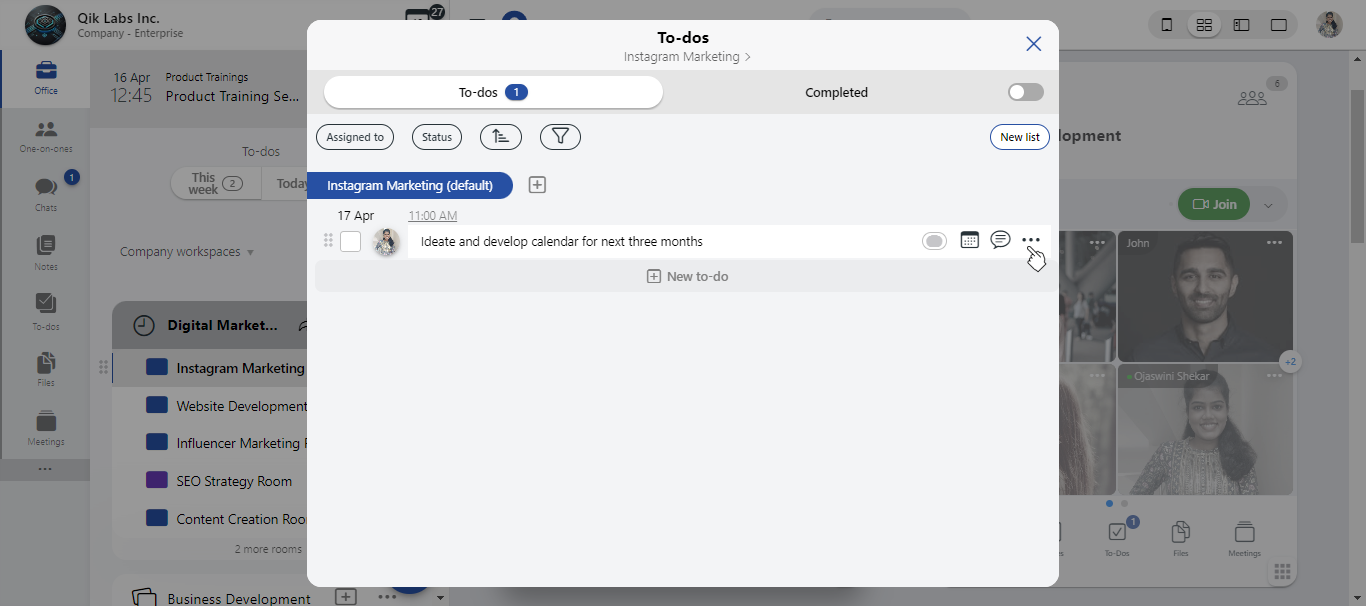
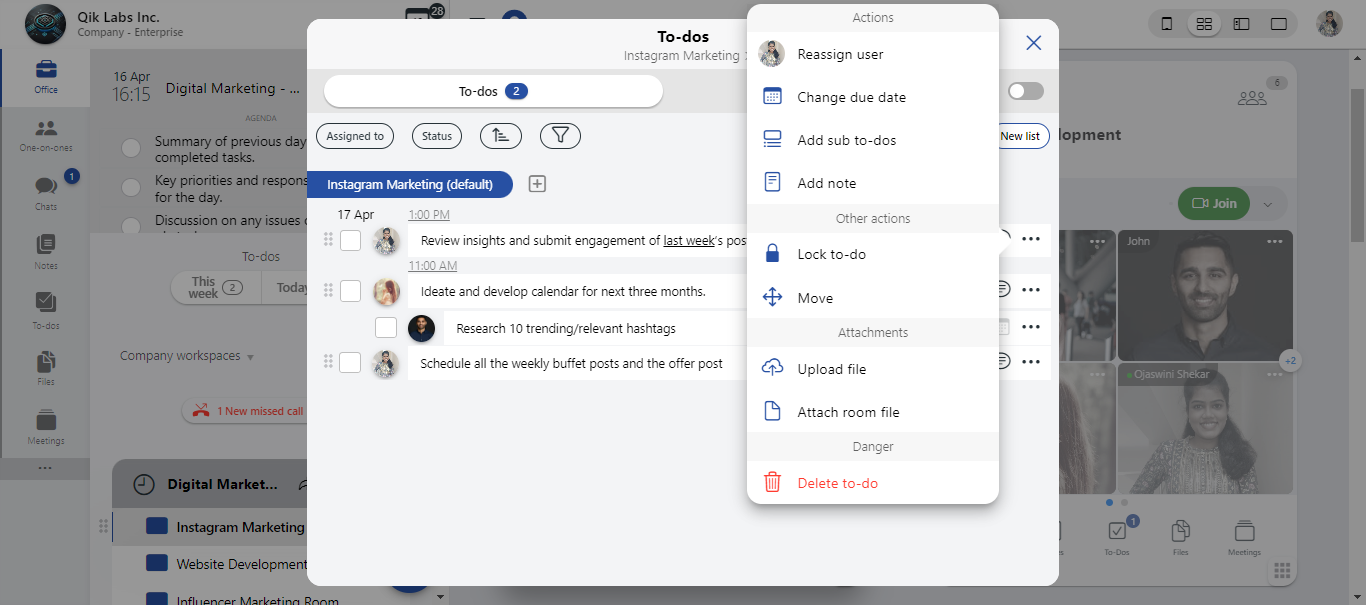
Locate the to-do item you want to manage. Click the options button (usually represented by three dots or a similar icon) next to the to-do item.
-
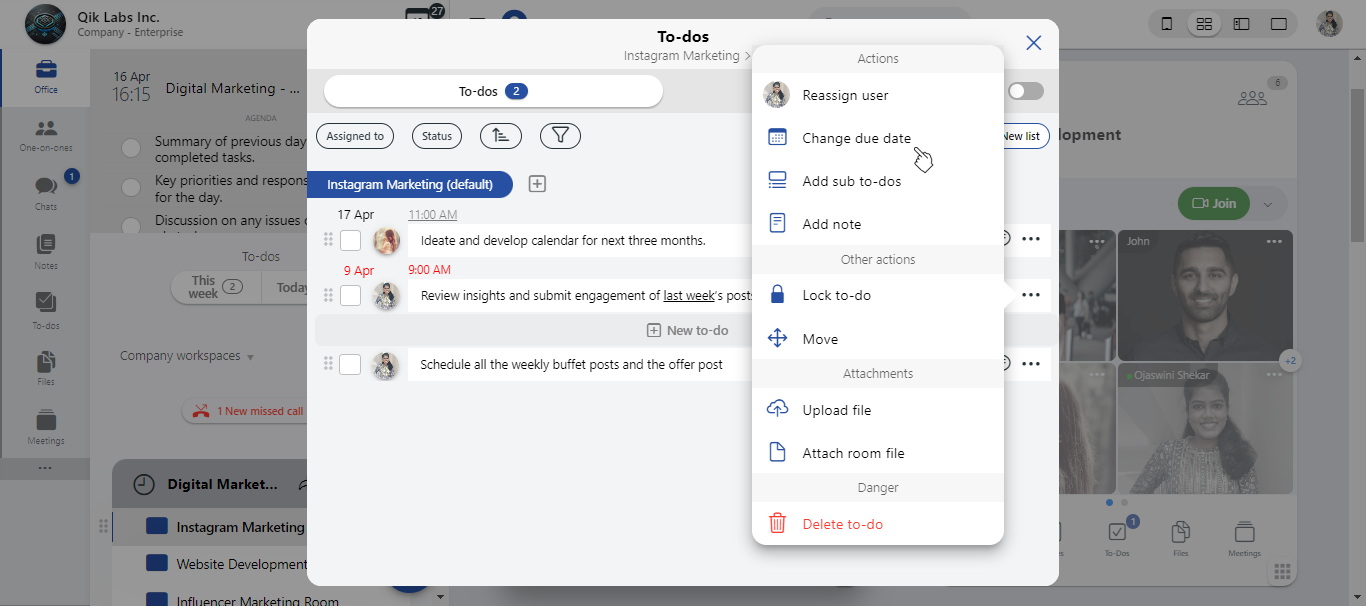
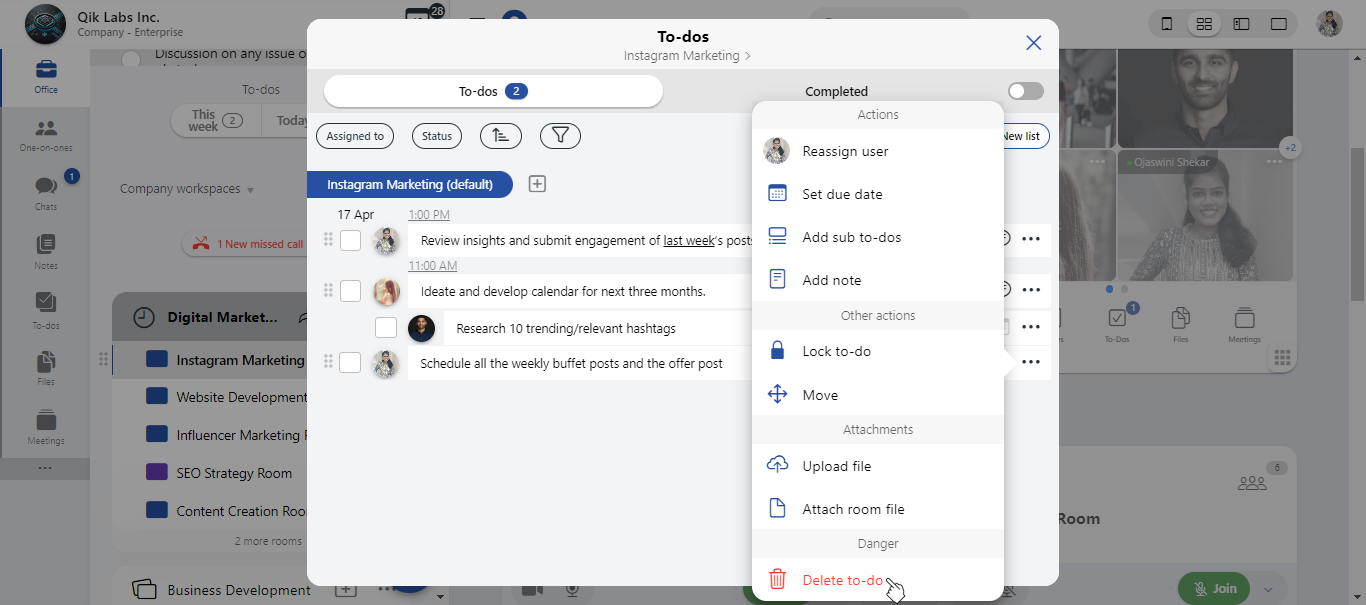
A dropdown menu will appear with several available actions. From this menu, you can:
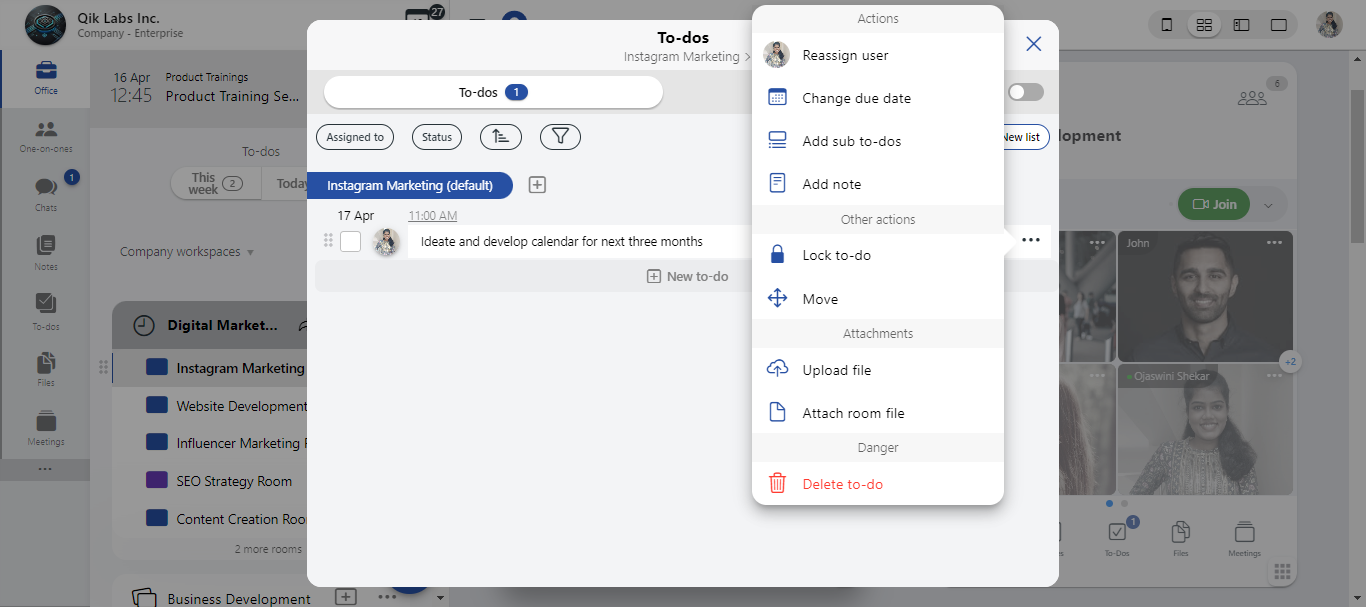
- reassign to do
- set due date
- add sub to do
- lock to-do
- move to do
- upload a file
- attach a room file
- delete a to do
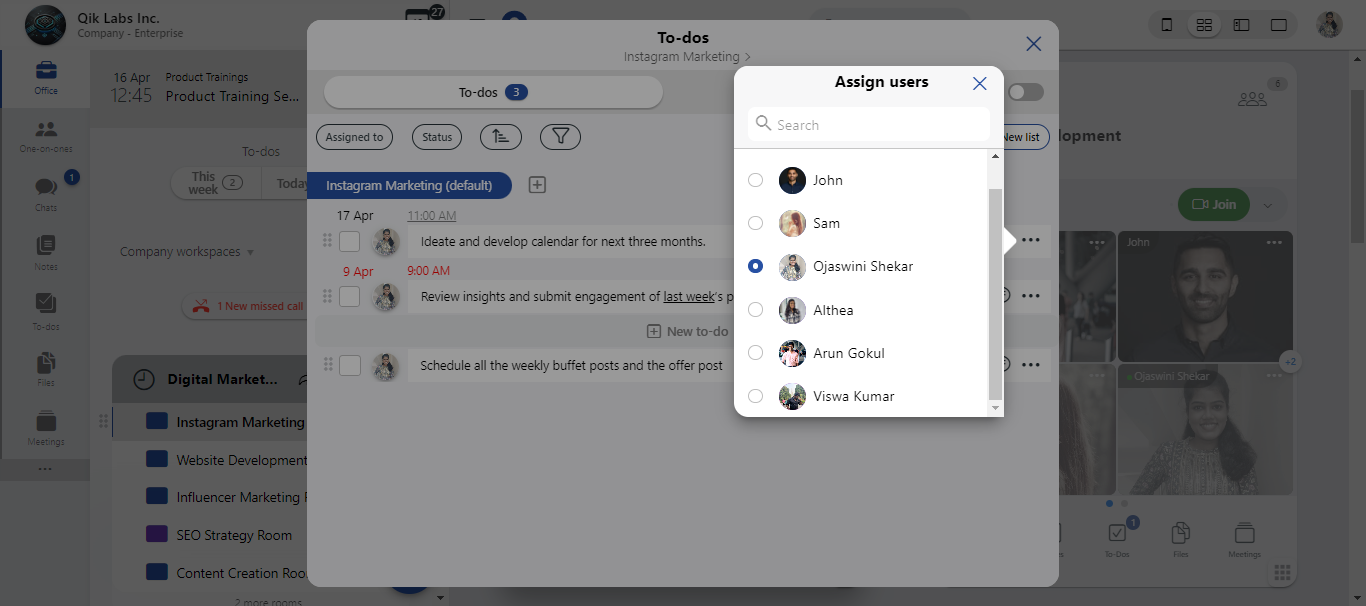
Reassign a to-do
-
Click the "Reassign user" option from the to-do’s options menu (typically accessed via the three-dot icon next to the to-do item).
-
The list of users will appear. Choose the new assignee from this list.
-
Once selected, confirm your choice. The to-do will now be reassigned to the chosen user, and they will be notified accordingly.
Set due date
-
Click the "Set due date" option from the to-do’s options menu .
-
A calendar will appear. Select your desired due date, deadline from the calendar interface. Click "Save" to save the selected date.
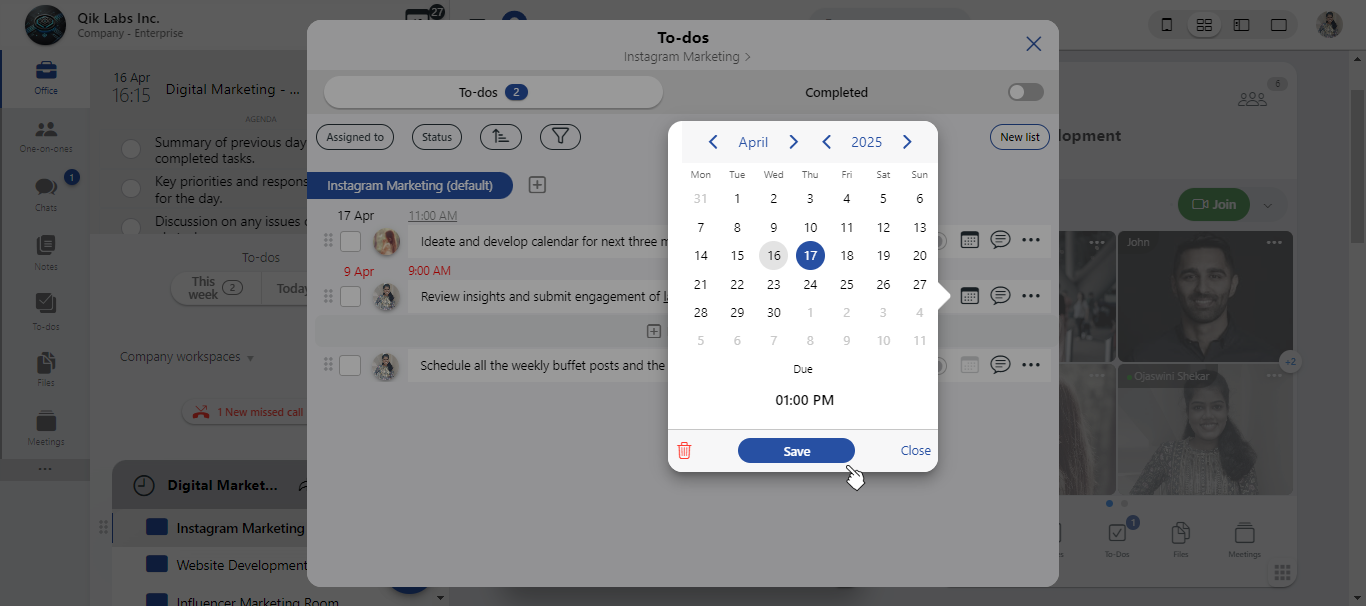
-
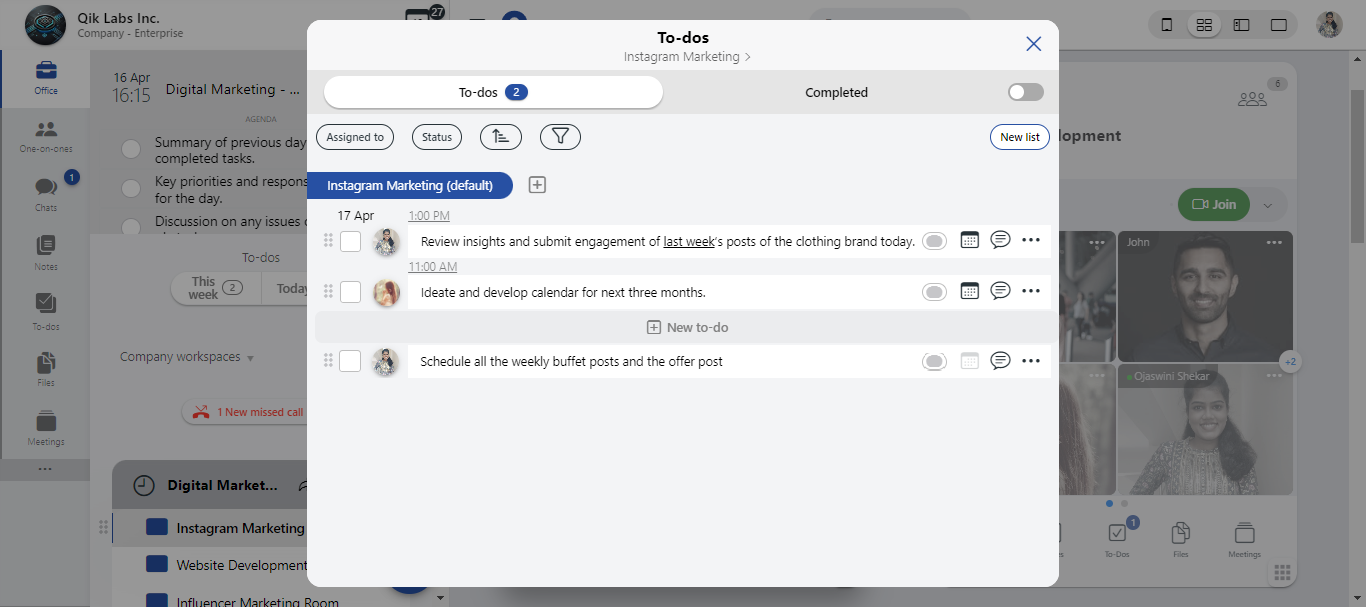
The due date will now be applied to the to-do and visible to all relevant users.
Add sub-to-dos
-
Click the "Add sub-to-dos" option from the main to-do’s options menu.
-
Enter the details of the sub-to-dos you want to add in the provided field.
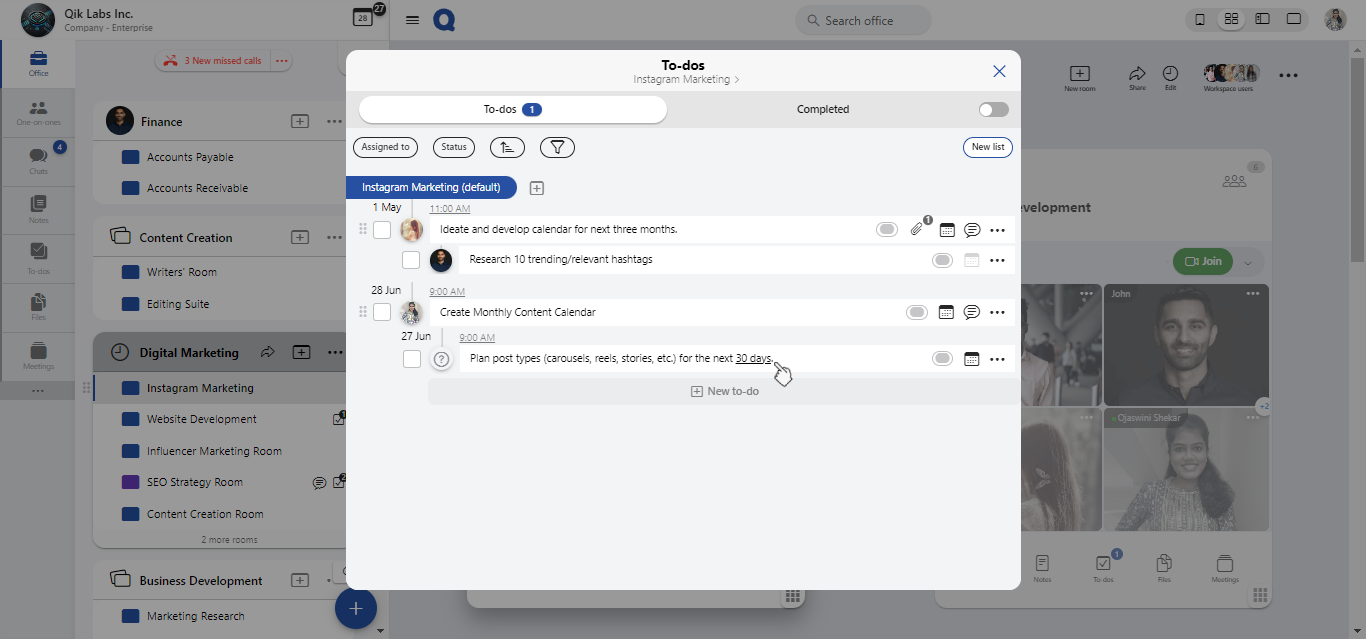
-
Assign the sub-task to a user for accountability.

-
The sub-to-do will appear under the main to-do for easy tracking and management.
Lock a to-do
-
Click the "Lock to-do" option from the main to-do’s options menu.
-
Once locked, only authorized users will be able to modify the to-dos. All others will have view-only access.
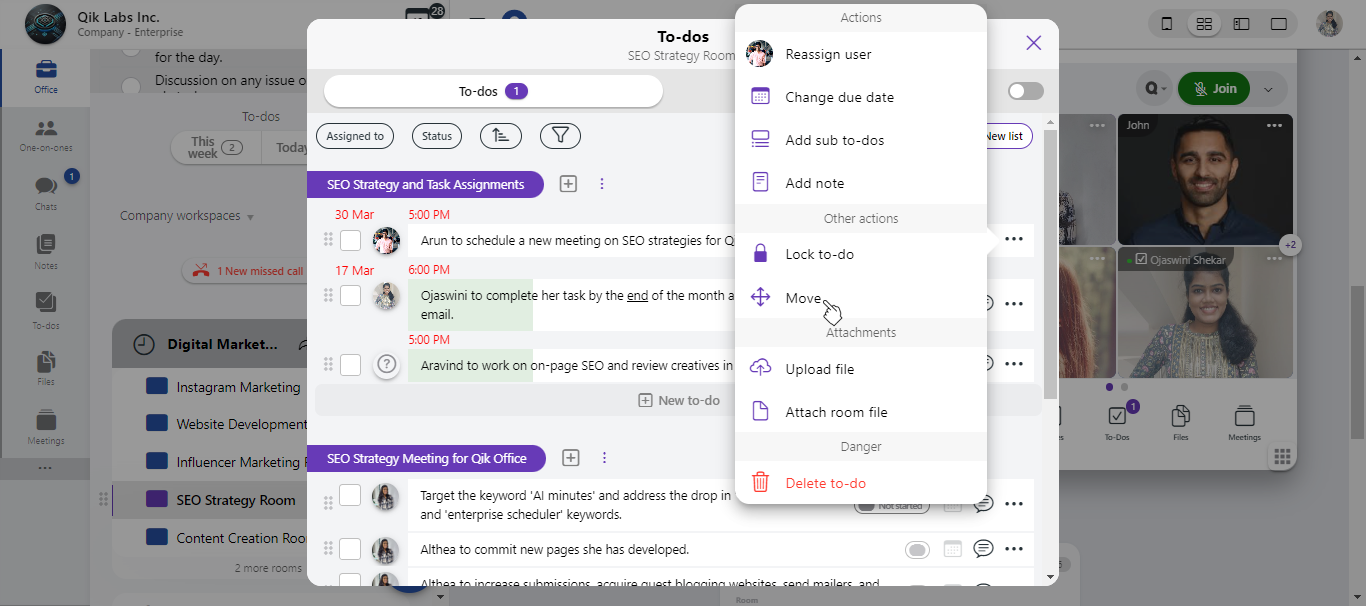
Move a to-do
-
Click the "Move" option from the to-do’s options menu.
-
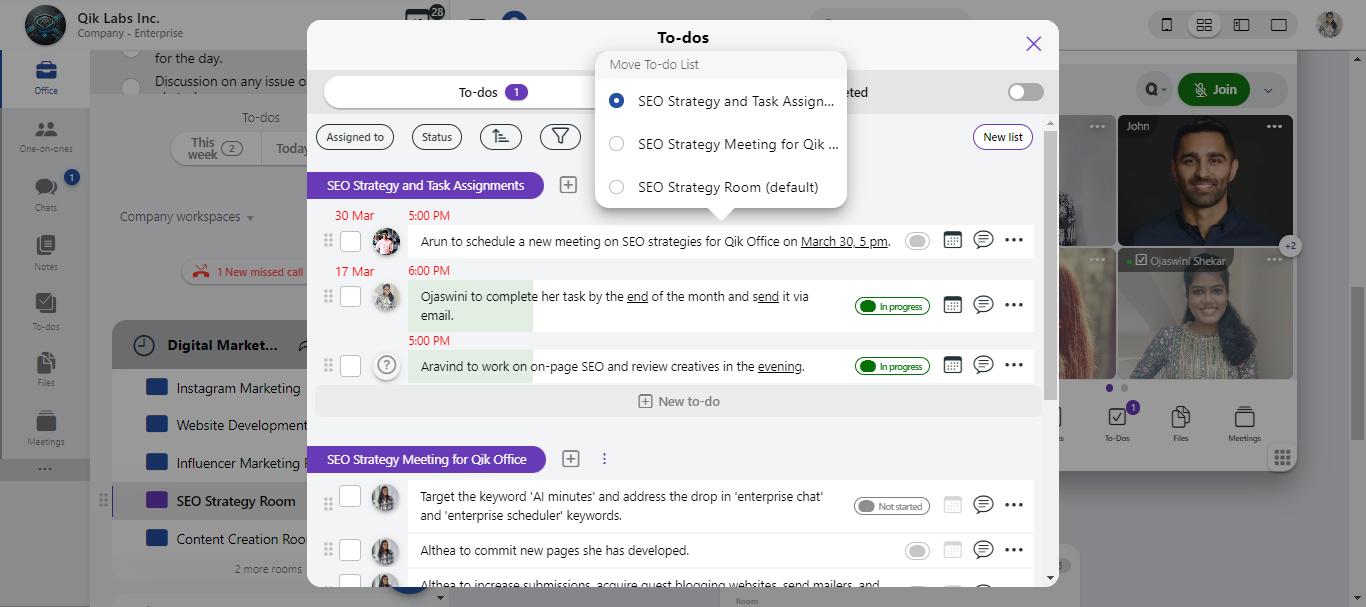
A list of available rooms will appear. Select the room where you'd like to move the to-do.
-
The to-do is now be moved to the selected room.
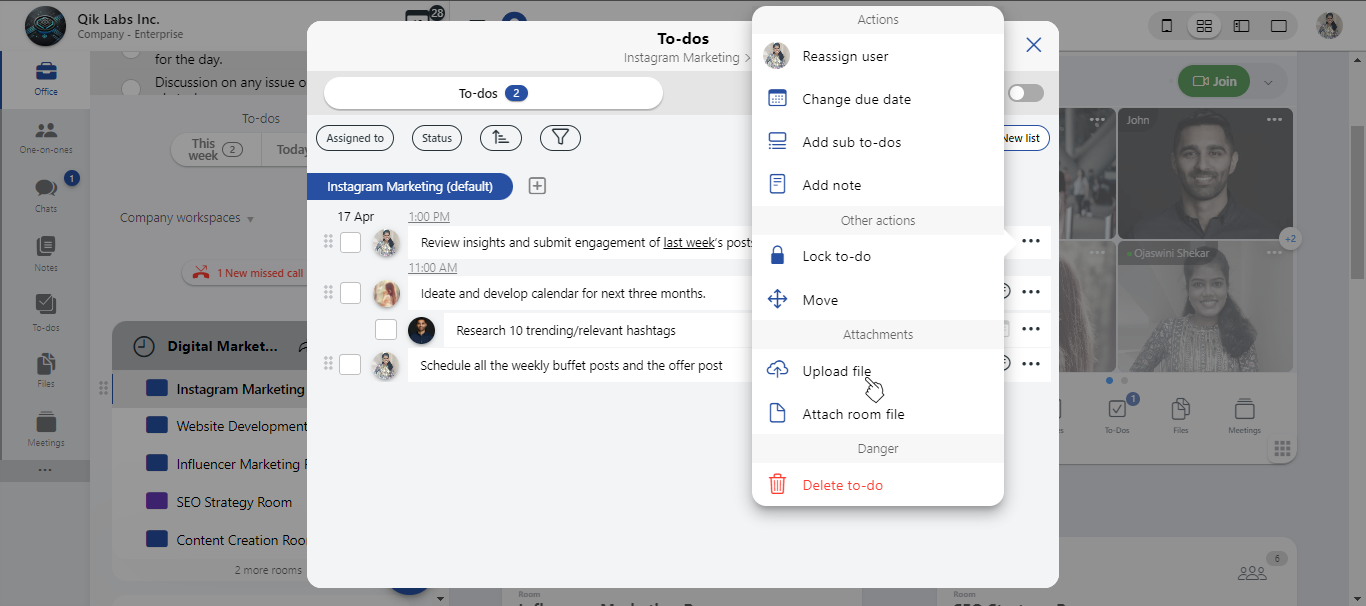
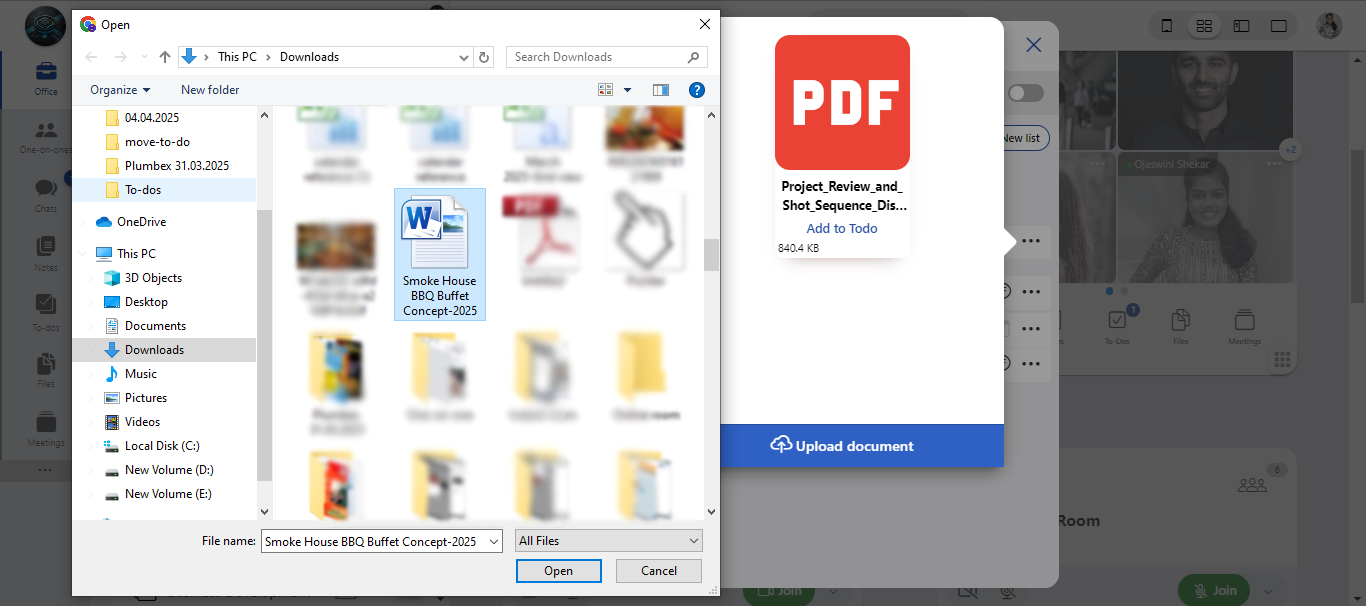
Upload a file
-
Click "Upload file" from the to-do’s options menu.
-
Select the file from your device.
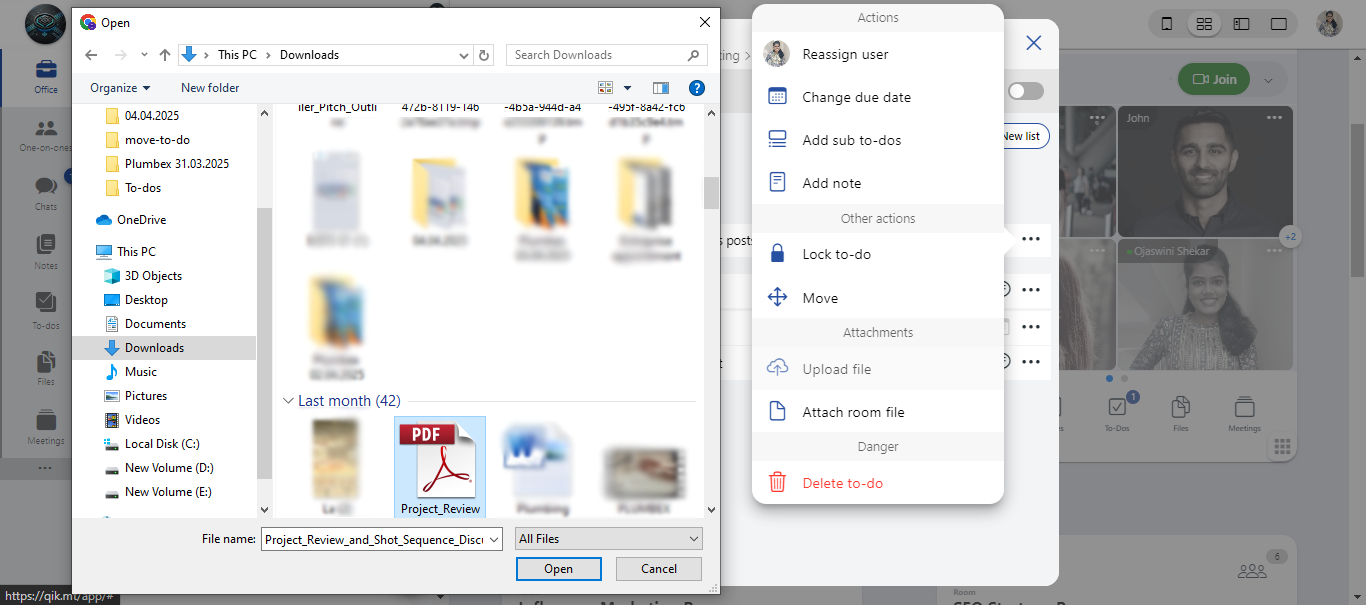
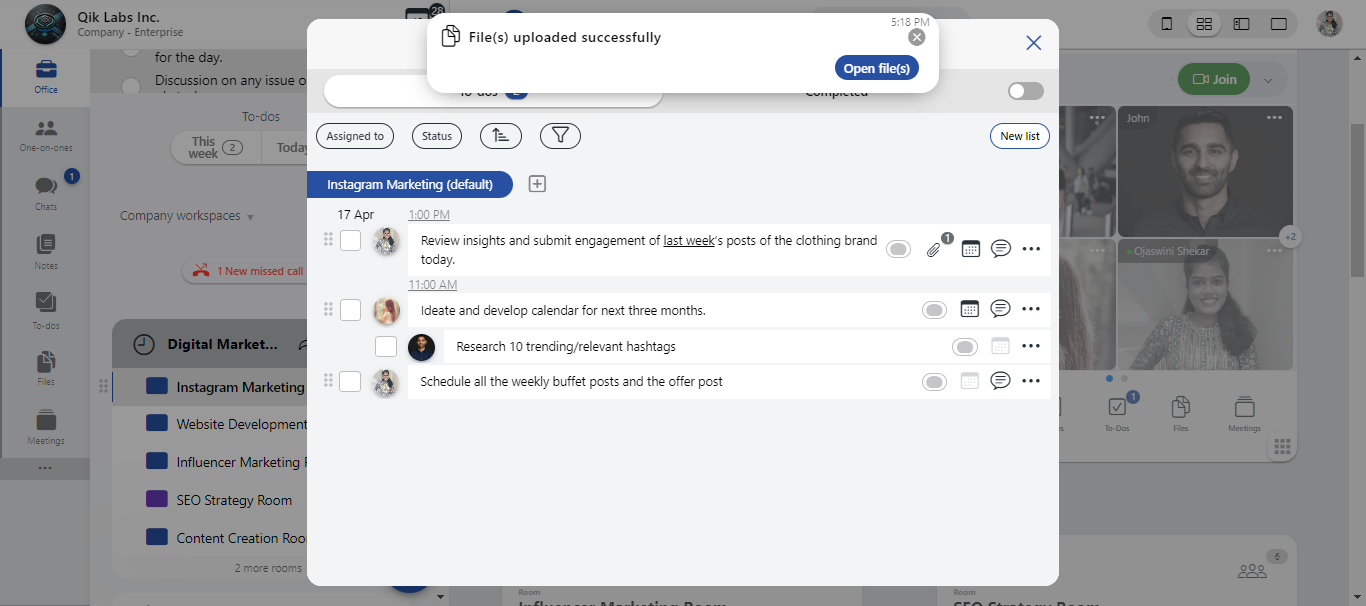
-
Click "Open", and the file will be attached to the to-do.
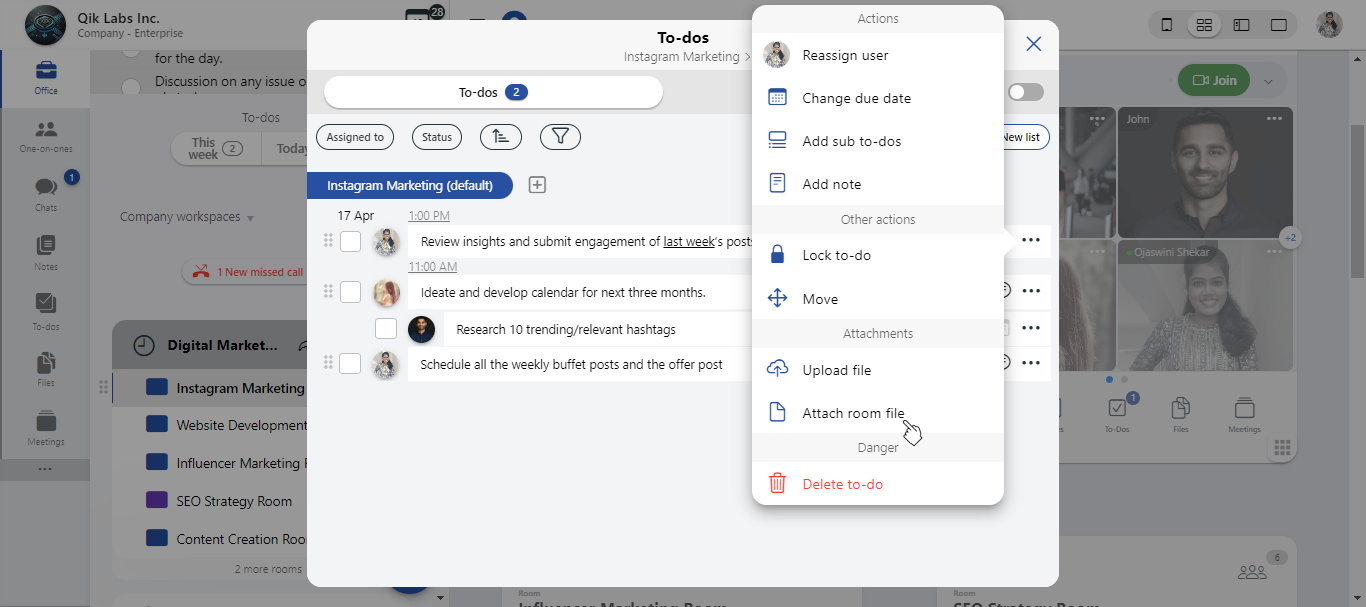
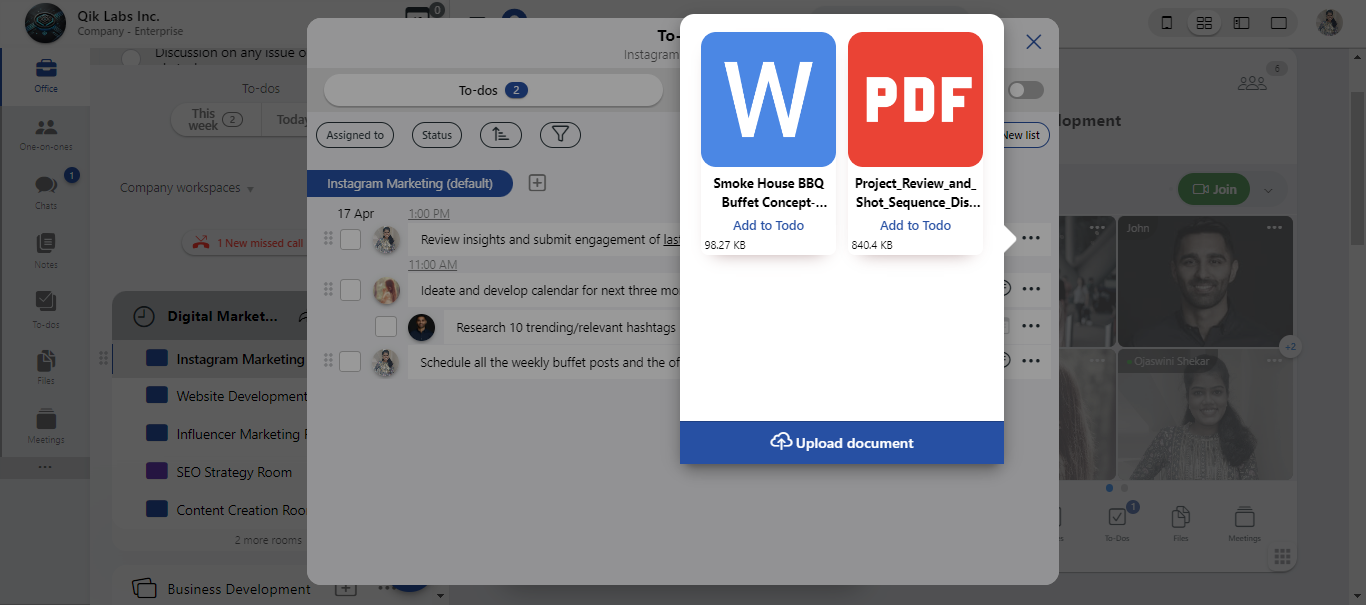
Attach a room file
-
Click "Attach room file" from the to-do’s options menu.
-
Click "Upload files" and choose a file from your device or other available sources.
-
Once the upload is complete, the file is automatically attached to the to-do for team access.
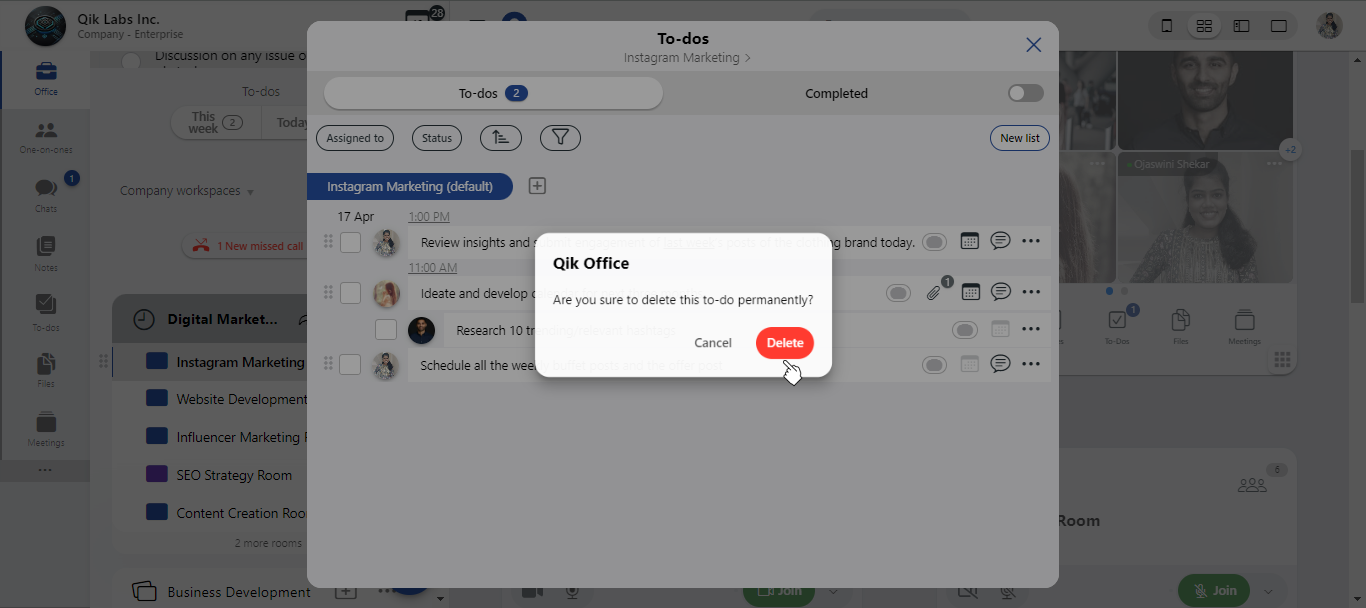
Delete a to-do
-
Click "Delete to-do" from the to-do’s options menu.
-
A confirmation prompt will appear. Click "Delete" to permanently remove the to-do from the list.
-
To-do is deleted.